

The last class I took with Greg Ellifritz was his knife class in 2019, which I absolutely loved. In fact, it convinced me to carry a knife on me as much as possible, which was something of a lifestyle change. This positive experience made me really want to take his Active Response Training ECQG class. Well, COVID got in the way and delayed things, but the stars finally lined up, and I was able to enroll in the class.
What did I think? Read on.
I had to immediately go on a very intense business trip to the west coast after this class, so the AAR writing was slightly delayed. There may be slight errors in the order of events due to it not being as fresh as usual in my mind. The content, I believe, more or less encompasses what was taught, though.
Disclaimers of Sources of Bias: None, except as a previous happy customer of Active Response Training and FPF Training.
Class Title: Close Quarters Gunfighting. (I have alternatively seen this class titled as “Extreme Close Quarters Gunfighting” or “ECQG”.)
Class Description: From the website:
The skills you learned on the target shooting range or in your CCW class may not work for you when the fight happens within arms’ reach. Extreme close range gun fighting is a completely different skill set, one that relies far more on FIGHTING than on mere shooting.
With up to 50% of gunfights occurring at ranges closer than five feet, you need this skill set! Join Greg Ellifritz as he teaches a dynamic close quarters gun fighting class that will cover the following topics:
- Retention Shooting Positions
- Body positioning and shooting stances for the close quarters fight
- In-fight weapons access and drawing skills
- Stopping and opponent’s draw
- Making contact shots without creating malfunctions
- Close quarters gun disarms
- One handed close quarters malfunction drills
- Using the pistol as an impact weapon
- Drawing and shooting from unconventional positions
- Weapons access and gun fighting from the ground
- Rescuing a partner or family member who is in an opponent’s clinch
- Weapons retention, both in holster and in hand
- and numerous other techniques!
This is not the class for a beginning shooter! Proper gun handling skills and evidence of prior training is a prerequisite for the course. Prior training in a combative martial art or police defensive tactics class will be useful, but not required. The class will be somewhat physically demanding, so please show up expecting to work hard.
Cost: $250.
Round Count: We were told to bring 200 rounds. I would estimate we shot a bit more than half of that.
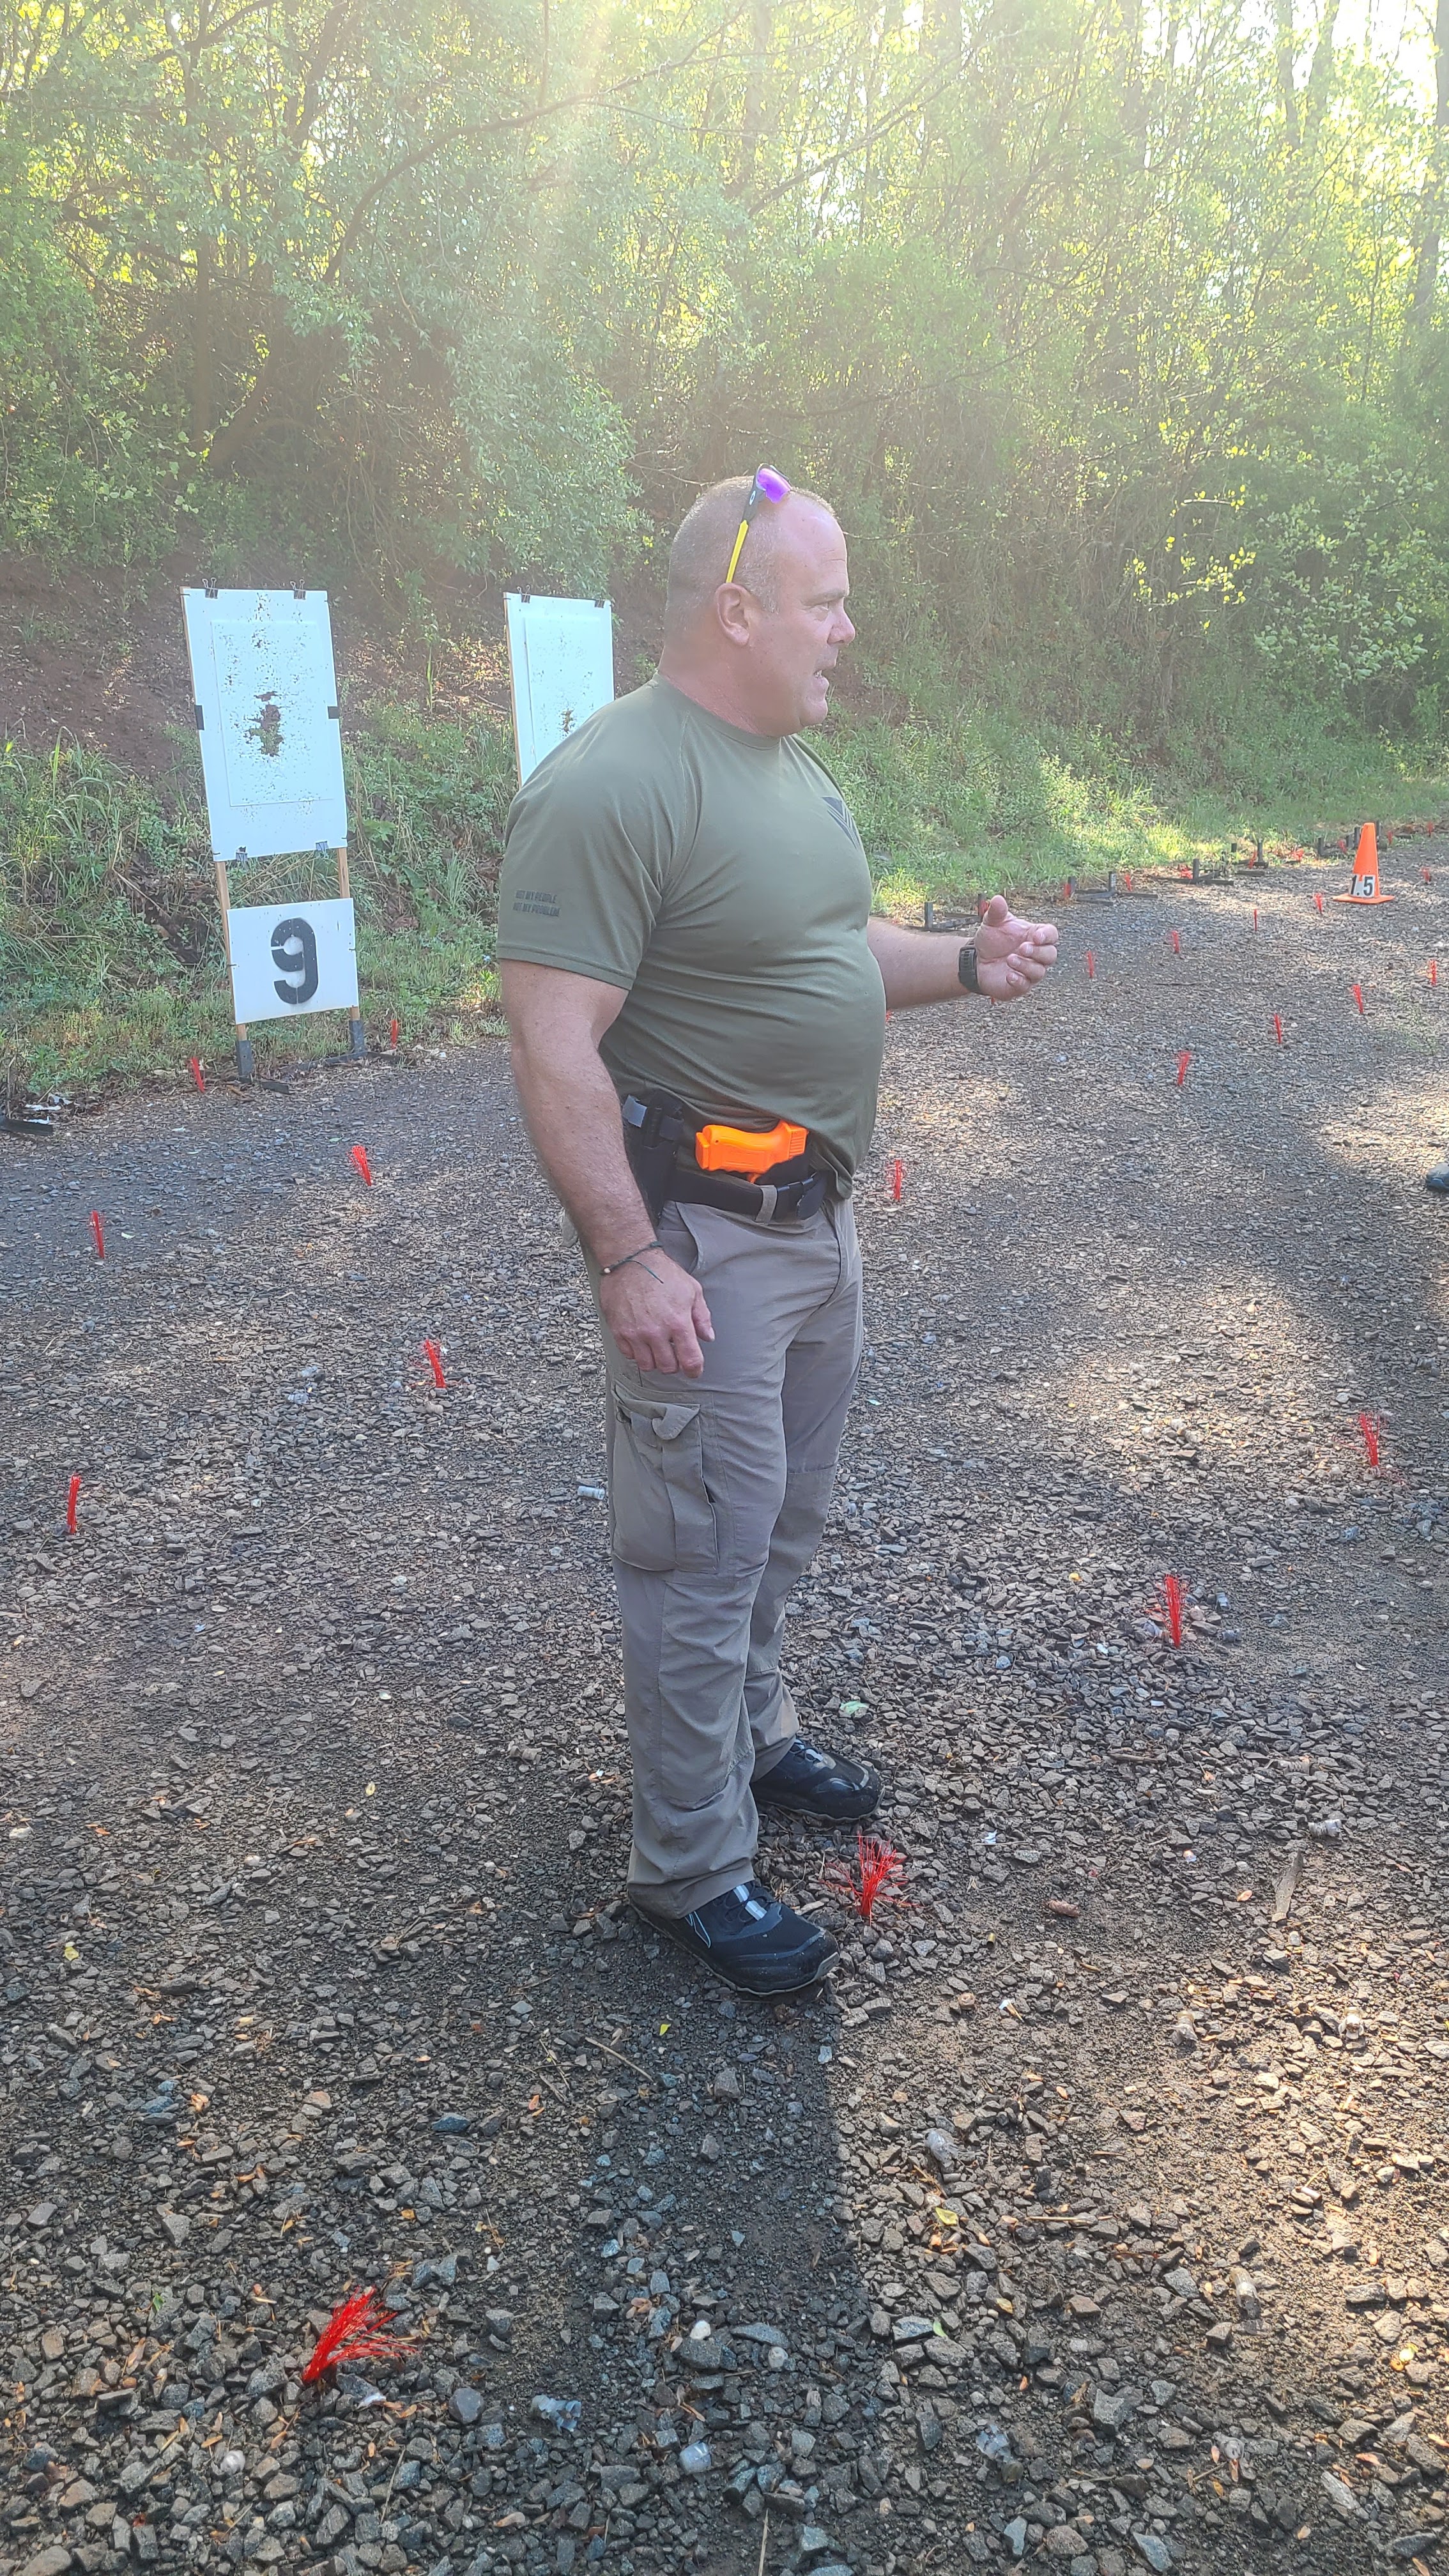
Instructors: This class was taught by Greg Ellifritz. Describing Greg is a study in contrasts. He’s a huge, beefy dude who’s friendly, extremely intelligent, erudite, well-read, and frequently self-deprecating. He’s a retired career cop who does not glorify policing. He’s a cancer survivor with an amazing outlook on life. But, perhaps most importantly, he’s also a top-notch instructor with tons of experience, a crazy amount of training, and an amazing amount of patience. Greg is one of the best guys to learn from in the training industry, hands-down. I only wish he’d come out here more.
Location/Date: The class was held on 4/23/2023 from about 8:30AM-4:30PM at FPF Training’s private range out in Culpeper. The class meets up about 15 minutes before the start time at a local gas station, because the range is a bit hard to find.
The range itself has a classroom shed, a storage shed, and a large area for parking. The shooting line itself is not HUGE, but it’s more than adequate. Unlike previous classes I’ve taken there, we spent quite a lot of time in the grassy area nearby it.
Weather: The weather was rather nice. It was a bit cool in the morning, but warmed up as the day went on. I was initially a little worried about mud from previous rain, but it seemed like the range had mostly dried out overnight.
Equipment Details: My loadout for this class was a little different than usual. For ECQQ, I used a pair of Sig P365Xs with optics and compensators. To be honest, I don’t even remember the brand of kydex holsters, just that they were equipped with DCC clips, held tight on my belt, and worked fine. I ran them from IWB and AIWB as was convenient.
I had some issues with my ammo early on in class (the P365s apparently don’t like to light off small rifle primers), so I swapped over to Federal HST 124gr +P. This worked 100% of the time, albeit it was an expensive backup plan for the class.
In retrospect, compensators weren’t such a hot idea for this class. You are shooting a LOT of rounds from retention, which means you’re basically pushing the blast (and possibly spall) straight into your face. I didn’t have any trouble with spall when using the P365’s “slide comp”, but I sure noticed the blast, especially with +P ammo. I’m not sure if I would have done things differently (these are my carry guns, after all), but if you have a choice, don’t use a comp.
Preparation Drills: Just a lot of practice and matches. I don’t really bring my P365s out to play very much, so they were slightly less familiar than, say, my P320s.
Author’s Previous Experience: Civilian with no military or LEO background. Have shot some competition, but no accomplishments worth bragging about. I only got really serious about shooting in 2018. I am OK with a carbine, pretty good with a pistol, and just average with a shotgun. I do shoot a lot of matches and get a lot of practice in throughout the year.
Class Demographics: There were about 18 people in the class (3 of which were women), with a wide variety of age and experience. Guns and holsters were similarly varied, albeit no one brought a revolver.
TD1 (morning): One of the things that I really love about Greg’s classes is the strong organization aspect. Everything’s planned out, and you get the sense that safety is the top priority. When we arrived at the class site (the class was hosted by FPF Training), we were directed to put our bags, ammo, and bagged guns on some provided tables.

Following that was a thorough safety and medical brief. ECQG presents some interesting safety challenges because, during the course of the class, you will be pointing unloaded guns at each other and pulling the trigger. This requires some very tight discipline, because one brain fart could easily lead to tragedy. Greg deals with this through a combination of good student management (no wandering off) and “roping” guns such that you can see clothes-line through the barrel and magazine well. When you put this together with frequent gun checks (“safely unholster your gun pointing at the ground and show it”), you get a class where you are doing potentially dangerous things in a very safe way. It is perhaps telling that I did not have any safety concerns during any portion of the class.
Greg gave us a brief sketch of the agenda for the class, and discussed a little bit of how we’d be training. ECQG is more of a combatives class than a shooting class (you will not be using your sights in it 99% of the time), and this means you’ll be “fighting” with a partner. He noted that this was not a Shivworks class, even though he would use some of that vocabulary, and that we need to go at our partner’s preferred speed. As it would turn out, I was partnered with a fine Shivworks alum who had no trouble with my request to “not go easy on me”. If you’re up to it, I’d recommend your partner and you going as hard as you can while 1) doing the drill and 2) remaining safe. There are not so many reps in the class that you can’t spend a little extra time on each of them trying to kill each other!
This led into a discussion of the problems involved with extreme close quarters gunfighting. The two big ones are that 1) you may only have one hand to use for said gunfighting and 2) the other guy and their weapons are trying to kill you. Thus, retention shooting becomes a big deal.
Greg’s preferred method for retention shooting is essentially a pectoral index with a flagged thumb, with the muzzle pointed flat forward of your pec (which means it will be slightly downwards if you do a bit of a lean-in). This gets your gun out of reach, provides a stable shooting platform, offsets the gun from the body enough to avoid the slide getting caught on things, and avoids flagging yourself. This was a bit of a mindset shift for me; I am used to IDPA-style retention shooting which is more focused on getting down-zero/A-zone hits than true gunfighting retention shooting.
He combines this with a vertical shield from your weak hand (or as Mike Green would say “other strong hand). The vertical shield technique is designed to deal with people trying to hit you in the head with haymaker punches. It’s a bit de rigueur in the industry, but works well enough. What I thought was pretty neat was his horizontal shield technique. This is where you shield your face by putting your weak hand on your strong shoulder. It removes a lot of visibility, but enough is left that you should be able to see what you’re shooting.
One common critiques of these arm shield techniques in gun-fighting (or knife-fighting, for that matter) is that they really work best on an unarmed opponent. This has some legal and ethical issues attached, since it would essentially presume you are pulling a gun on someone without one. Greg, in his typically thoughtful fashion, is perhaps the first instructor I’ve run into who explained how some gunfights escalate, and your opponent may have a gun that they simply have not brought out yet, or perhaps they are trying to take back a gun you have just taken away from them. This made me feel a little better about the whole endeavor.
Greg also spent a couple minutes discussing the other retention technique that many police officers are familiar with: the speed rock. Suffice it to say, the speed rock is an obsolete technique with many problems, the two most basic ones being that it throws you completely off balance and doesn’t do very much to make your gun harder to grab. What Greg presented seems infinitely preferable to that, not to mention that it uses almost exactly the same draw I’d use for “normal” shooting – it just ends in a different place.
Anyways, we then proceeded to the large grassy area, selected our partners, and experimented with various stances and how resistant they were to pushing. I don’t think there were a ton of surprises here, but I was fascinated to learn how blading your torso severely impacts your ability to deal with a push. I also found that how I angled my back foot would often have quite a lot of significance as well. The point Greg was trying to make here was that your choices in how to stand would have big impacts on your ability to fight in close quarters.
At this point (at least according to my notes), we went to the line to get our guns on and load them up. The class was broken into two relays, with one partner in a pair in each relay. The partner who was not shooting was responsible for monitoring the shooting partner and making sure they weren’t doing anything dangerous in terms of muzzle direction, etc.
The retention shooting drills followed a crawl-walk-run pattern. Early drills would specifically call out drawing, checking muzzle direction, firing, and so on. As students became proficient (and, I suspect, Greg verified that they were safe shooters), the commands sped up a bit and allowed for the students to take more initiative.
Like every other competent instructor, Greg followed the “tell-show-do” paradigm in his instruction, and it worked very well. He was always walking the line, checking people’s form, and making corrections. I did not find myself needing a ton of help, and was mostly able to self-correct (perhaps with a bit of nudging from my partner).
The drills were one-shot each, and then two-shots each, and then a variation where the pistol was rolled out 45 degrees (useful for lefties and very-large-breasted people). I will admit that I found it a little disconcerting how far low and right my shots were impacting on the target, albeit this was the technique working as intended. I did find it a little funny that I could verify my partner was on-target by simply looking through his pistol’s optic from the side.
A problem that we had with the targets – and this continued for the day – was that the arms-length shooting tended to blow them apart. There was no obvious rhyme or reason for this, either, excepting maybe the guy with the 1911 in .45 Auto. My +P rounds didn’t seem to cause issues, but my partner’s Blazer aluminum ammo really ripped things up.
After shooting, we roped up our guns and broke for a 30 minute lunch break.
TD1 (afternoon): With lunch finished, we returned to the grassy field for a bit of combatives work. After checking that our guns were still roped, we explored a variety of topics:
- Strikes (unarmed)
- Strikes (pistol)
- One-handed malfunction clearance (typically racking off the belt)
- Fouling draws
- Disarms
I found this to be perhaps the most interesting part of the class. Other than six months of BJJ, I have no real combatives experience, and the techniques discussed were oriented around folks like me being able to perform them. Good examples were the eye and throat gouges. It’s a bit macabre to discuss how an eye gouge works (which is more or less attempting to scoop out someone’s eyeball), but it’s simple and a fight stopper.
I also found the segment on disarms to be a revelation. Greg gave us his real-life experiences with disarming someone with a gun, and despite being proficient in numerous disarming techniques, always wound up simply grabbing the gun with both hands and pushing it away. His recommendation for us was to do the same, and if we could, perform a wrist lock and twist the gun out of the other person’s hand. If you’ve never tried this before, you should find a buddy (and an unloaded gun) and try it. My training buddy was no slouch, but ripping the gun out of his hand once I had a wrist lock was trivial. If your gun had a lot of grip stippling, you also got some delightful abrasions – that’s one way of seeing how good they are, I suppose.
One discovery I had was that I consistently had issues clearing my shirt during draws. I had to make much more of an effort to do that during an entangled fight. I do not typically have problems with this when I have access to both hands, but it is clearly more of a problem with only one.
We ended the day with more live-fire drills. These focused on shooting with horizontal guard, and also going from full extension to retention (and back). Round counts went up a bit, but not such that it should have been taxing to anyone’s ammo supply.

Interestingly enough, the final drill of the day was the cloverleaf drill, which is essentially trying to get touching holes at 3 yards by shooting one shot free-style, one shot strong hand, and one shot weak hand. Greg opined that we had been doing coarse, sights-free shooting all day, and he didn’t want us to end on that note. I didn’t quite accomplish the drill, but I also discovered my red dot had come slightly loose (and the paper target had basically disintegrated). It’s an interesting exercise to try at home, and reminded me a lot of dot torture.
We unloaded and bagged our guns (or loaded them for carry), and class was over.
Class Debrief: There wasn’t really much of a debrief. I think people were pretty tired. We did put away the target stands and otherwise clean up.
Conclusions: I’ve had ECQG on my “classes to take!” list for a long, long time, so I am very happy I was able to finally get it in. It easily met my (very high) expectations and then some. If you concealed carry a pistol, I think it’s almost a must-take if the opportunity arises.
Besides just the fantastic curriculum and knowledge transfer, the way the class was taught was amongst the best I’ve ever had. Concepts built on each other in a clear way, the demonstrations were simple and well-executed, and perhaps best of all, Greg was easily able to answer all questions, even some rather complex ones.
This isn’t a Shivworks class. It’s designed to be accessible by almost anyone who can safely shoot a gun, which is really a commendable goal. The level of physical fitness required is pretty much determined by you and your partner. If anything, I’d recommend trying to take the class with a trusted friend, because I felt like I learned more from some of the combatives drills when it was a real struggle. You won’t always get lucky enough like me to find a stranger (or should I say, “new friend”) who’s willing to really push you, so bringing your own would seem like a smart move.

Having taken a few other brief blocks of retention and contact distance shooting, I will opine that Greg’s class is among the best and will serve you well. I also highly recommend his groundfighting class. It’s one that I need to repeat.
LikeLike