

One advantage to being in Houston was the opportunity to attend the NRA Annual Meeting (NRAAM) this year. While I’m sure there’s an actual meeting for NRA members in there, the real star of the show is the large and impressive exhibit floor.
NRAAM reminds me a whole lot of the Great Outdoor Show in PA. A lot of the displays are very similar to what I’ve seen there, a lot of the usual suspects are around, and there’s a fair amount of free swag floating about. I mostly wandered around looking for cool stuff. Here’s a bit of what I found:
The Sig booth was surprisingly crowded. The Rose stuff, in particular, had a massive line full of women. It looks like that line is going to be a winner for them (just like the Legion branding was), and I’d expect it to continue on for a while. Nothing was terribly exciting, but I did have a chance of go hands-on with the Rattler LT with the Romeo9T optic.
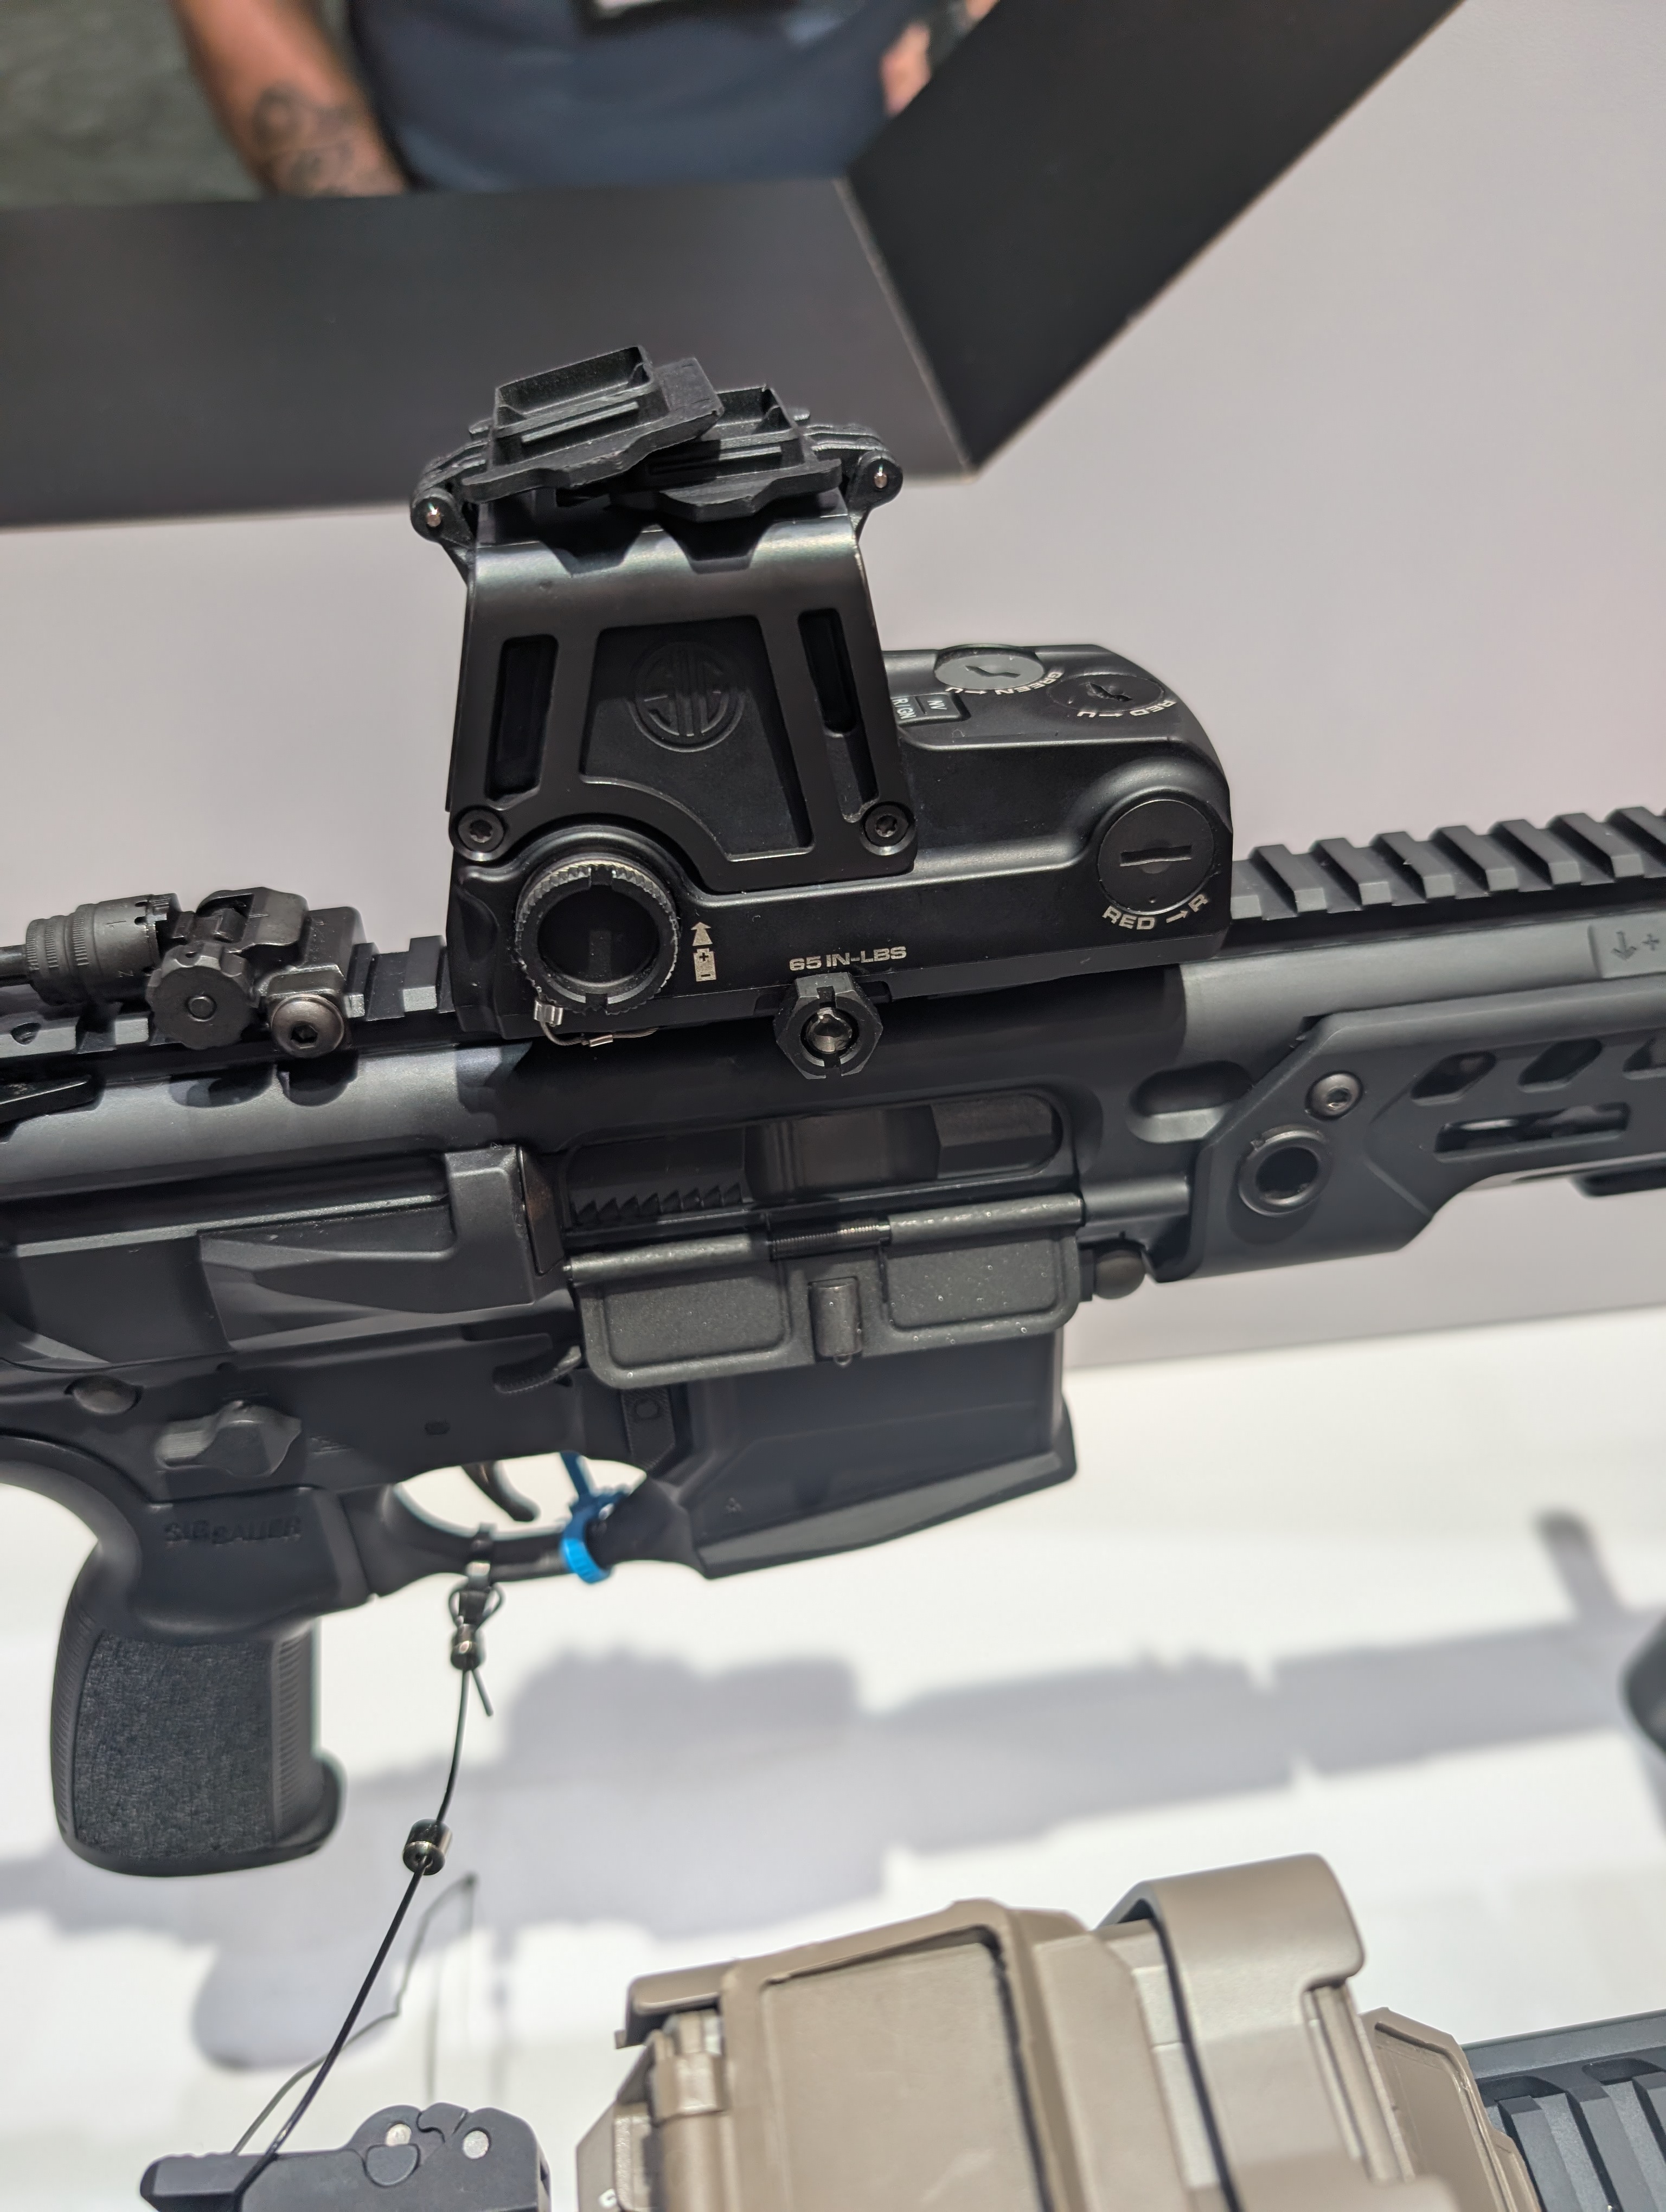
I don’t love the choices they made for the controls, but they’re usable enough. If it didn’t cost more than a mortgage payment, the Romeo9T would probably be a very popular option for the .300 BLK crowd. As it is… well, aspirational items aren’t so bad.
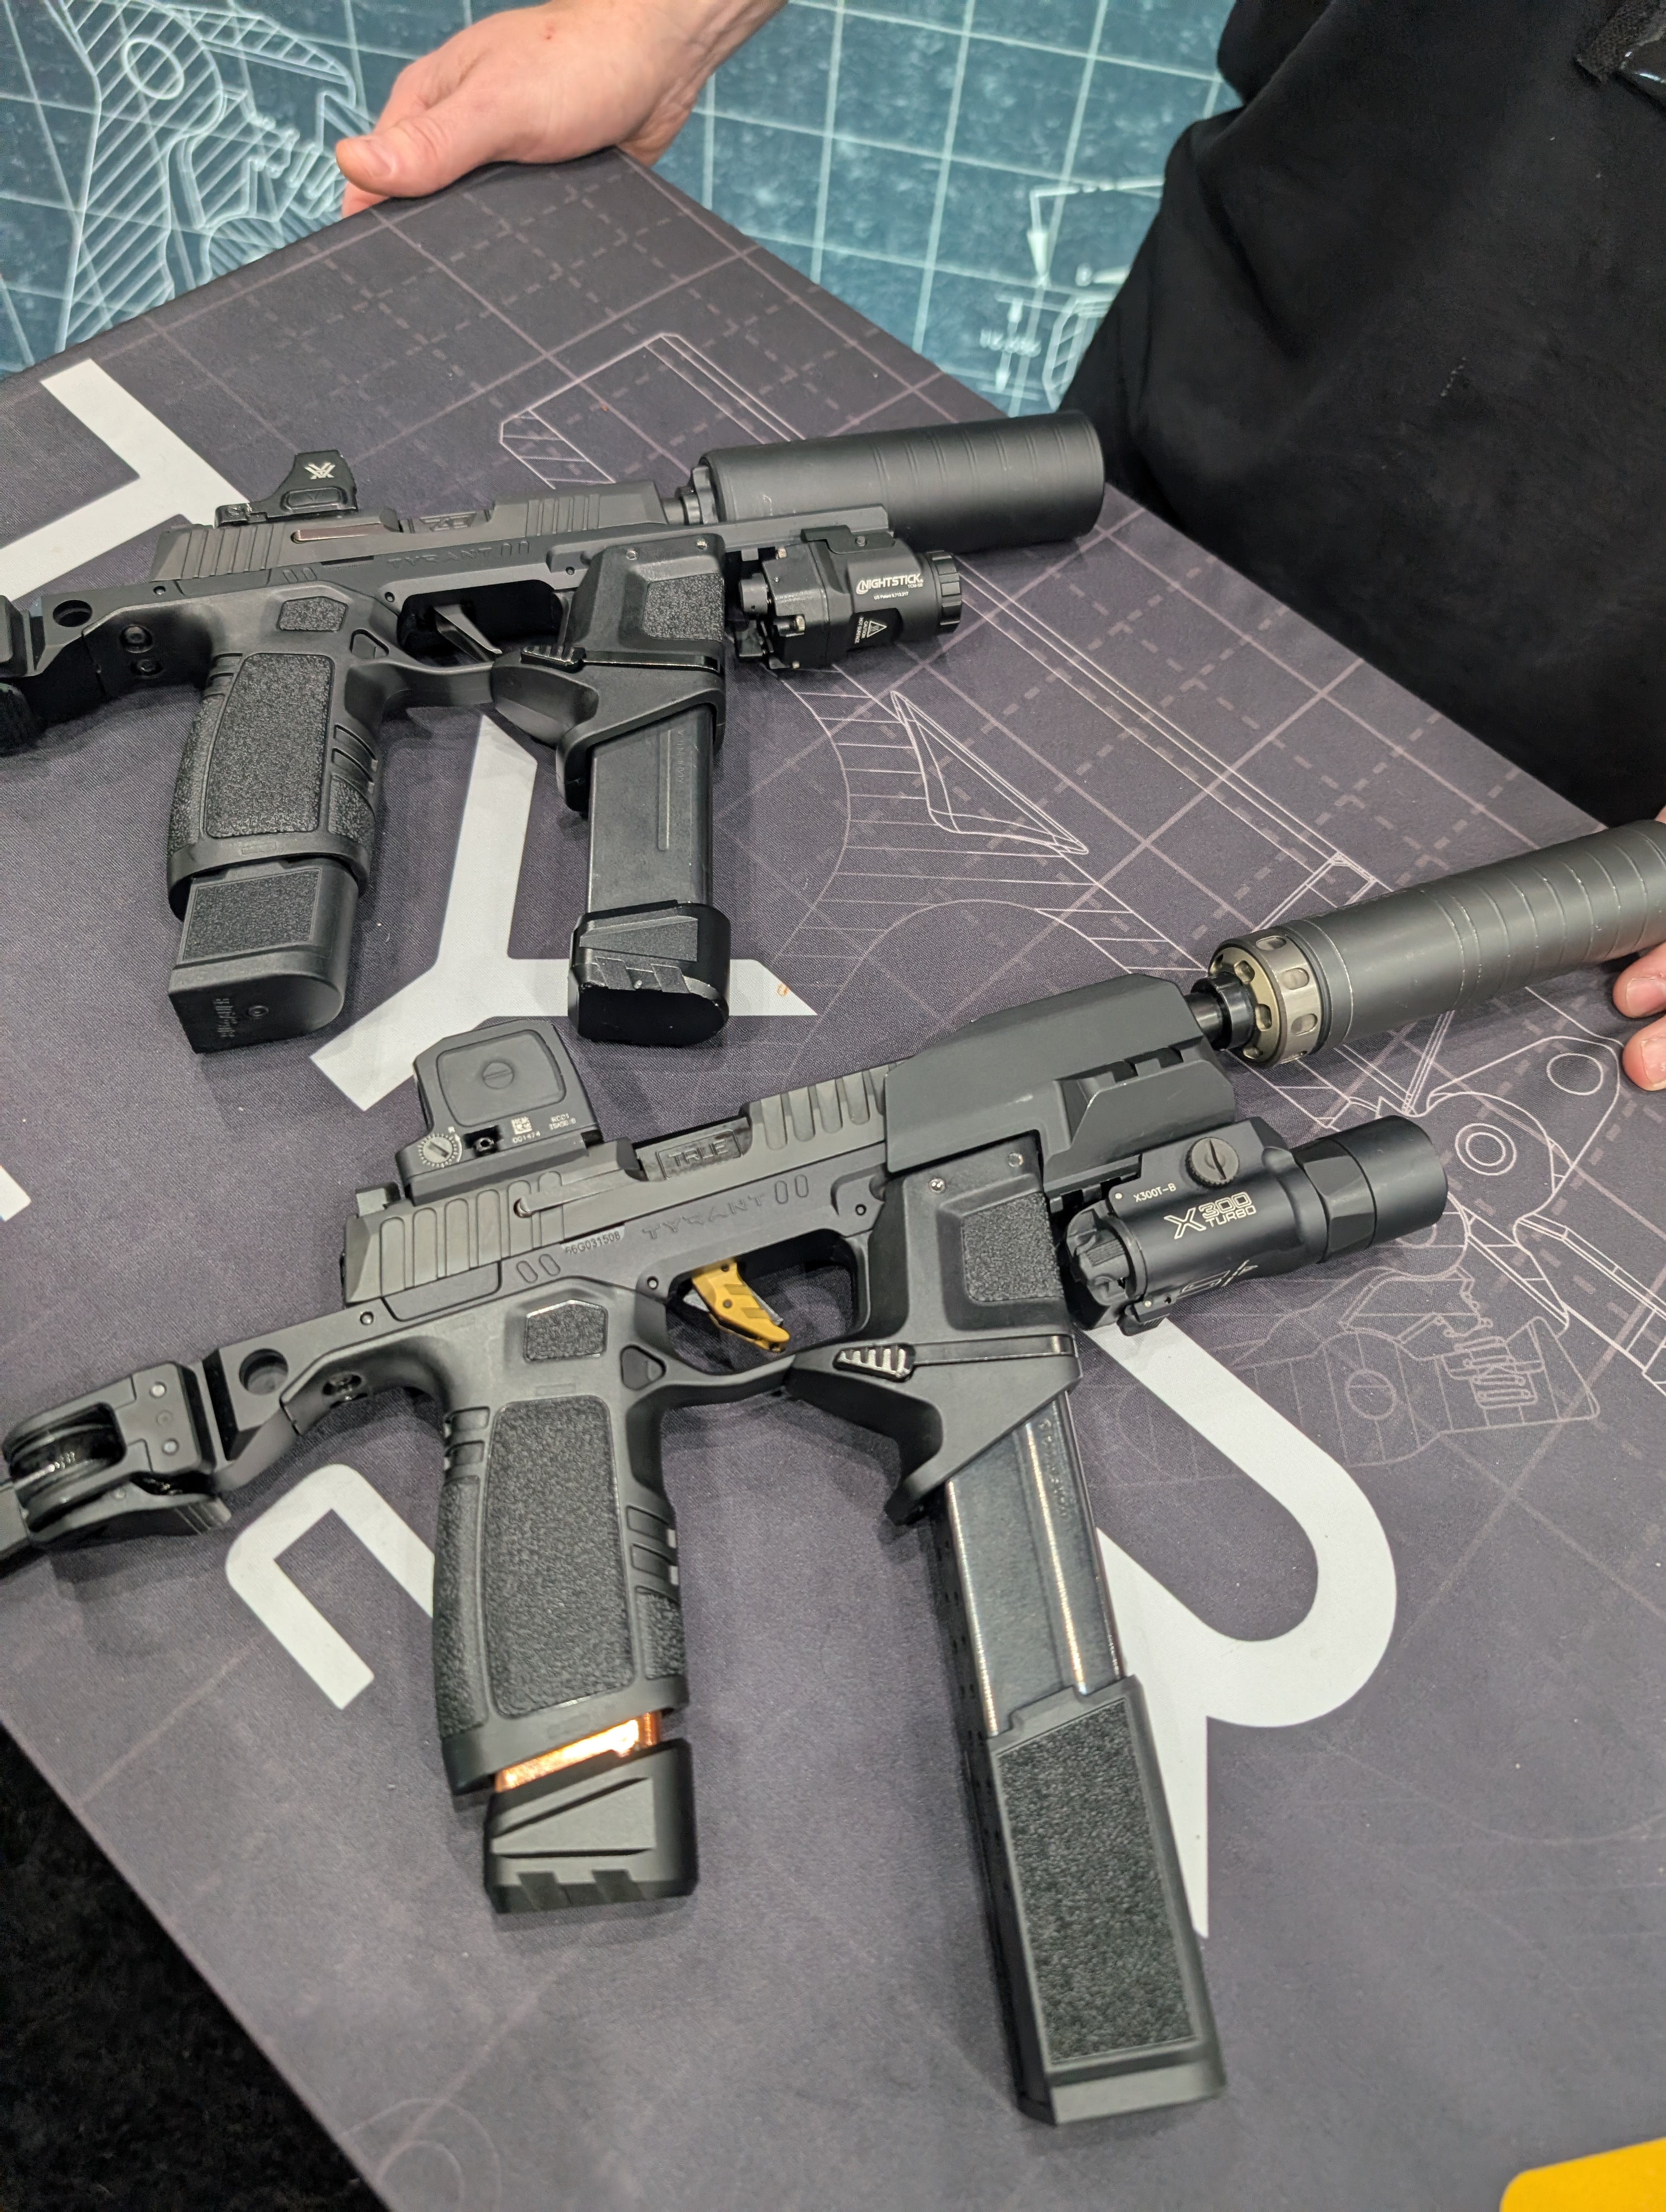
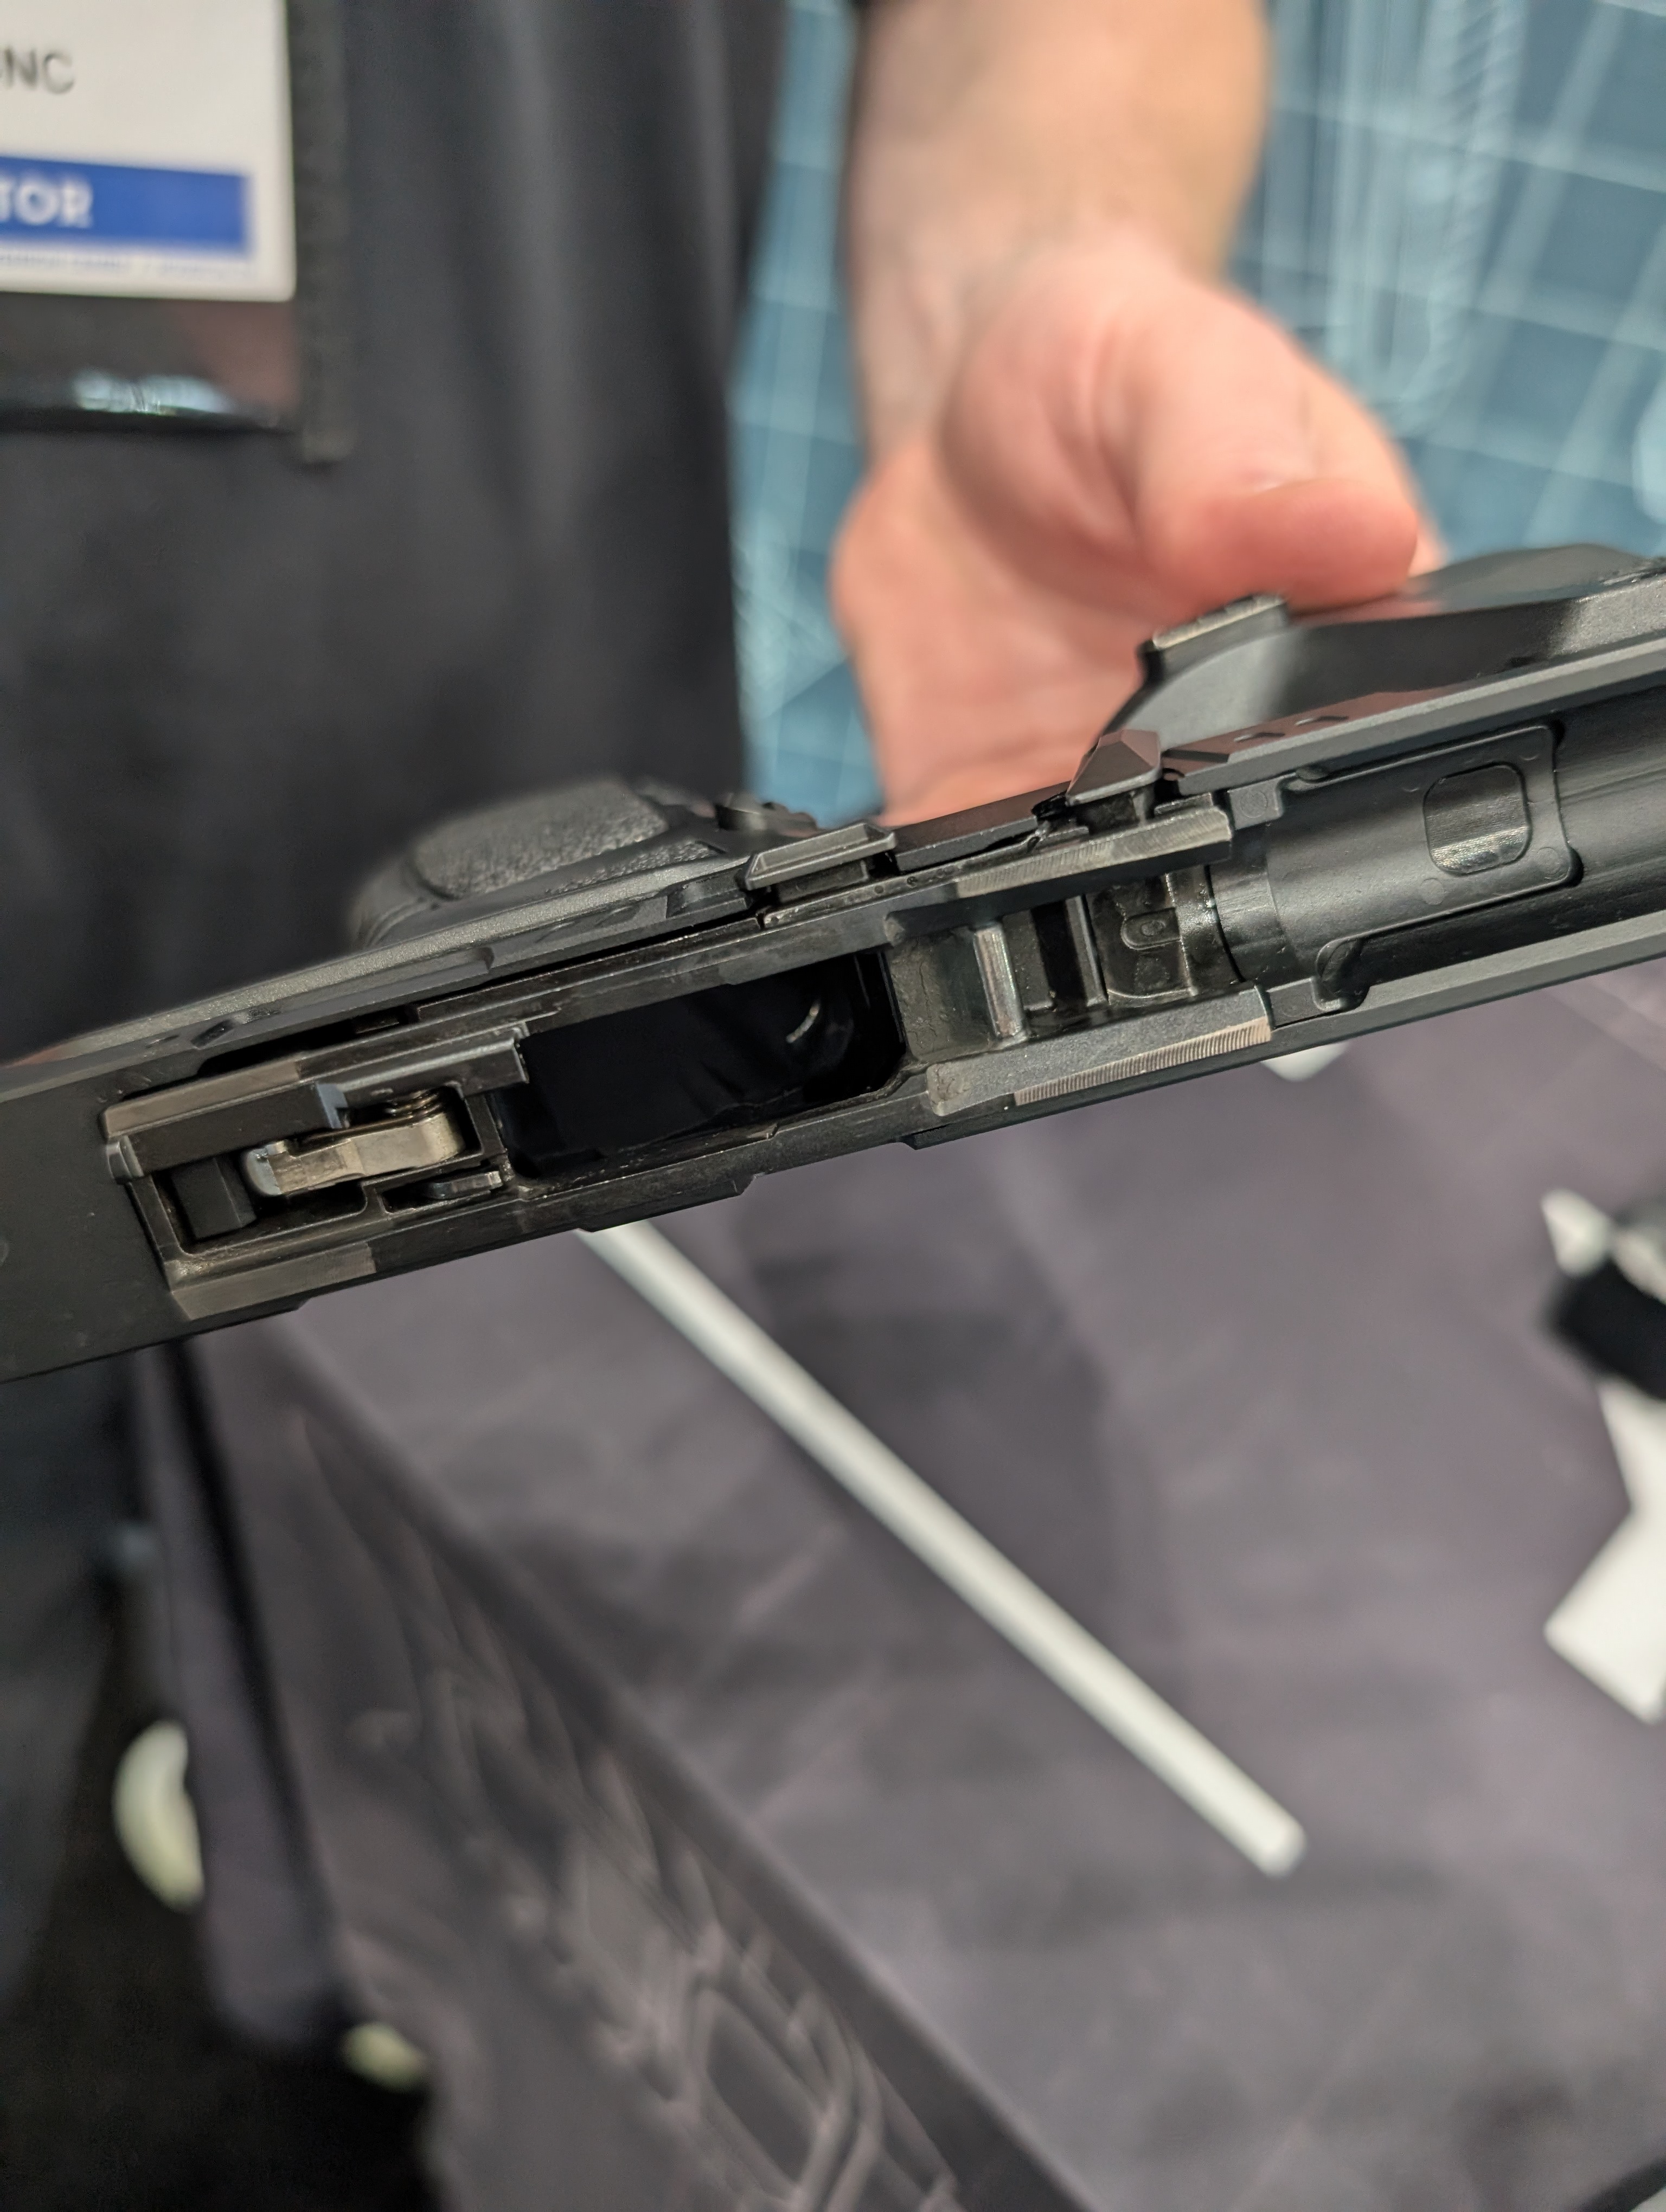
I spent a good amount of time with TyrantCNC, who was displaying their P365 chassis prominently. We spent some time discussing it, how it compares to the Flux (which they felt was a very good product), and why their version was worth a go. The simple answer is that they spent a lot of time nailing the tolerances on the FCU pocket, and that they have a more modular solution in general (in terms of suppressor support and so on). I think they’ve done their homework, and I may pick one up for a review at some point… stay tuned.
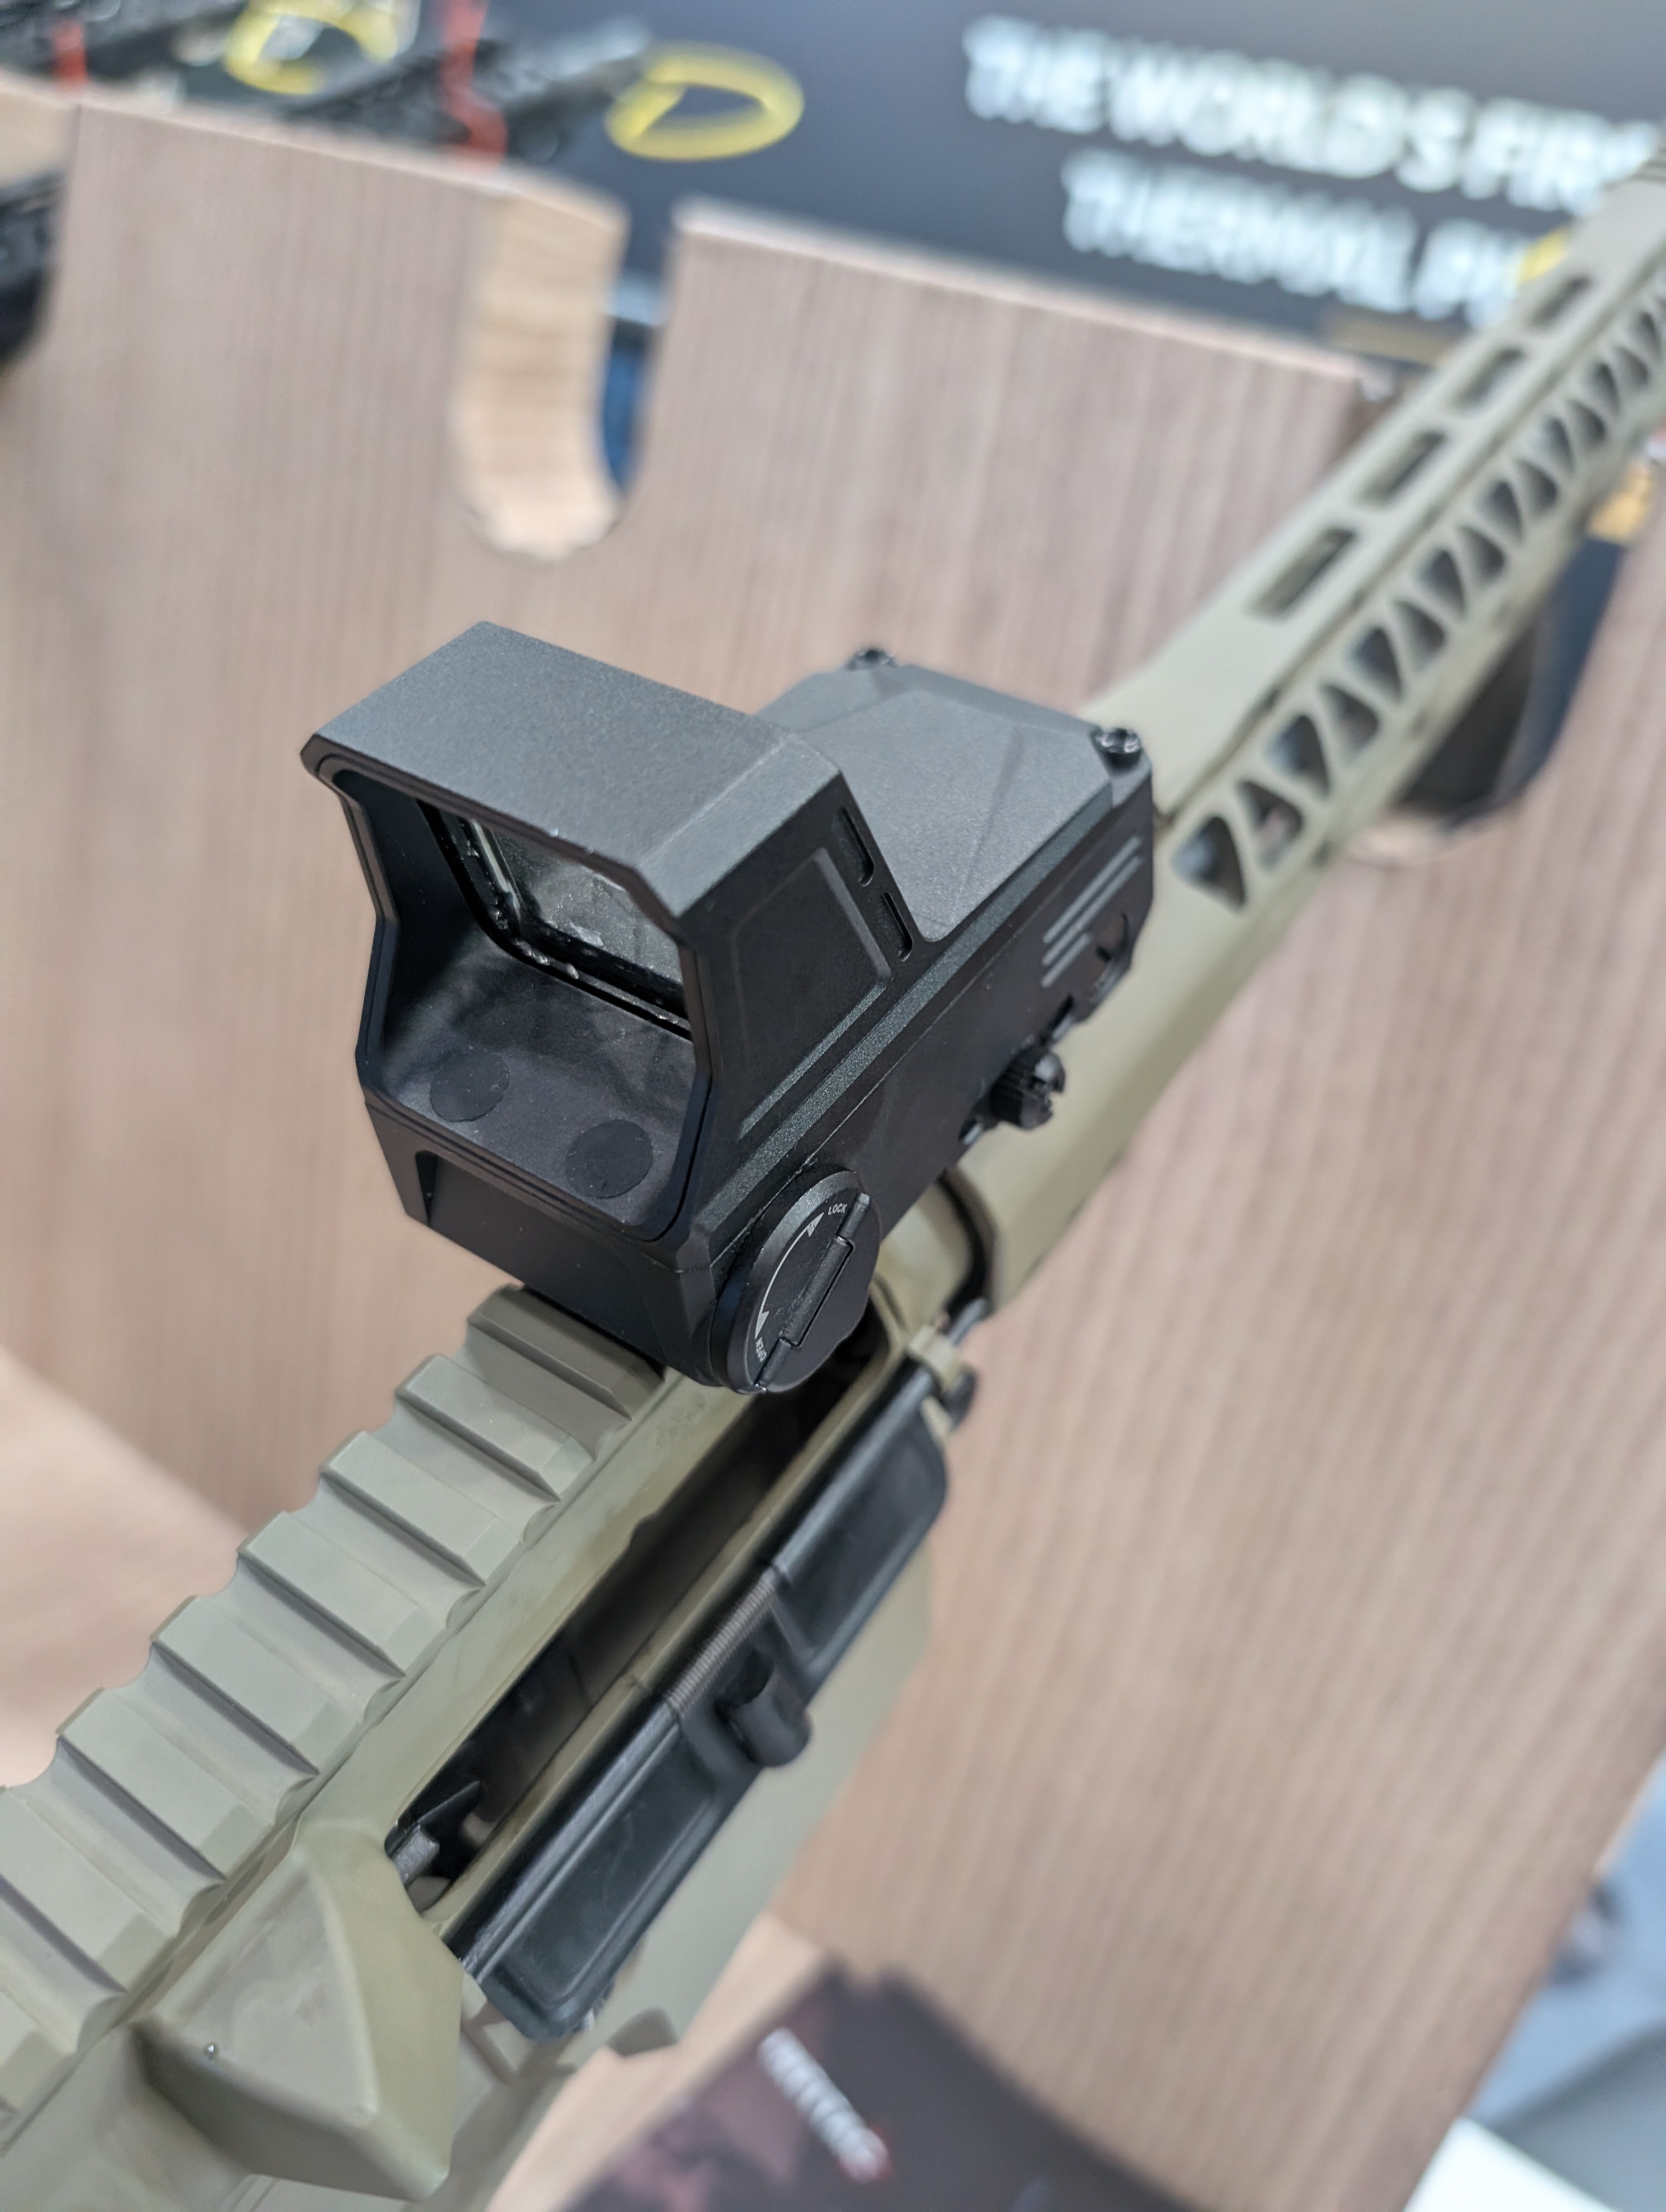
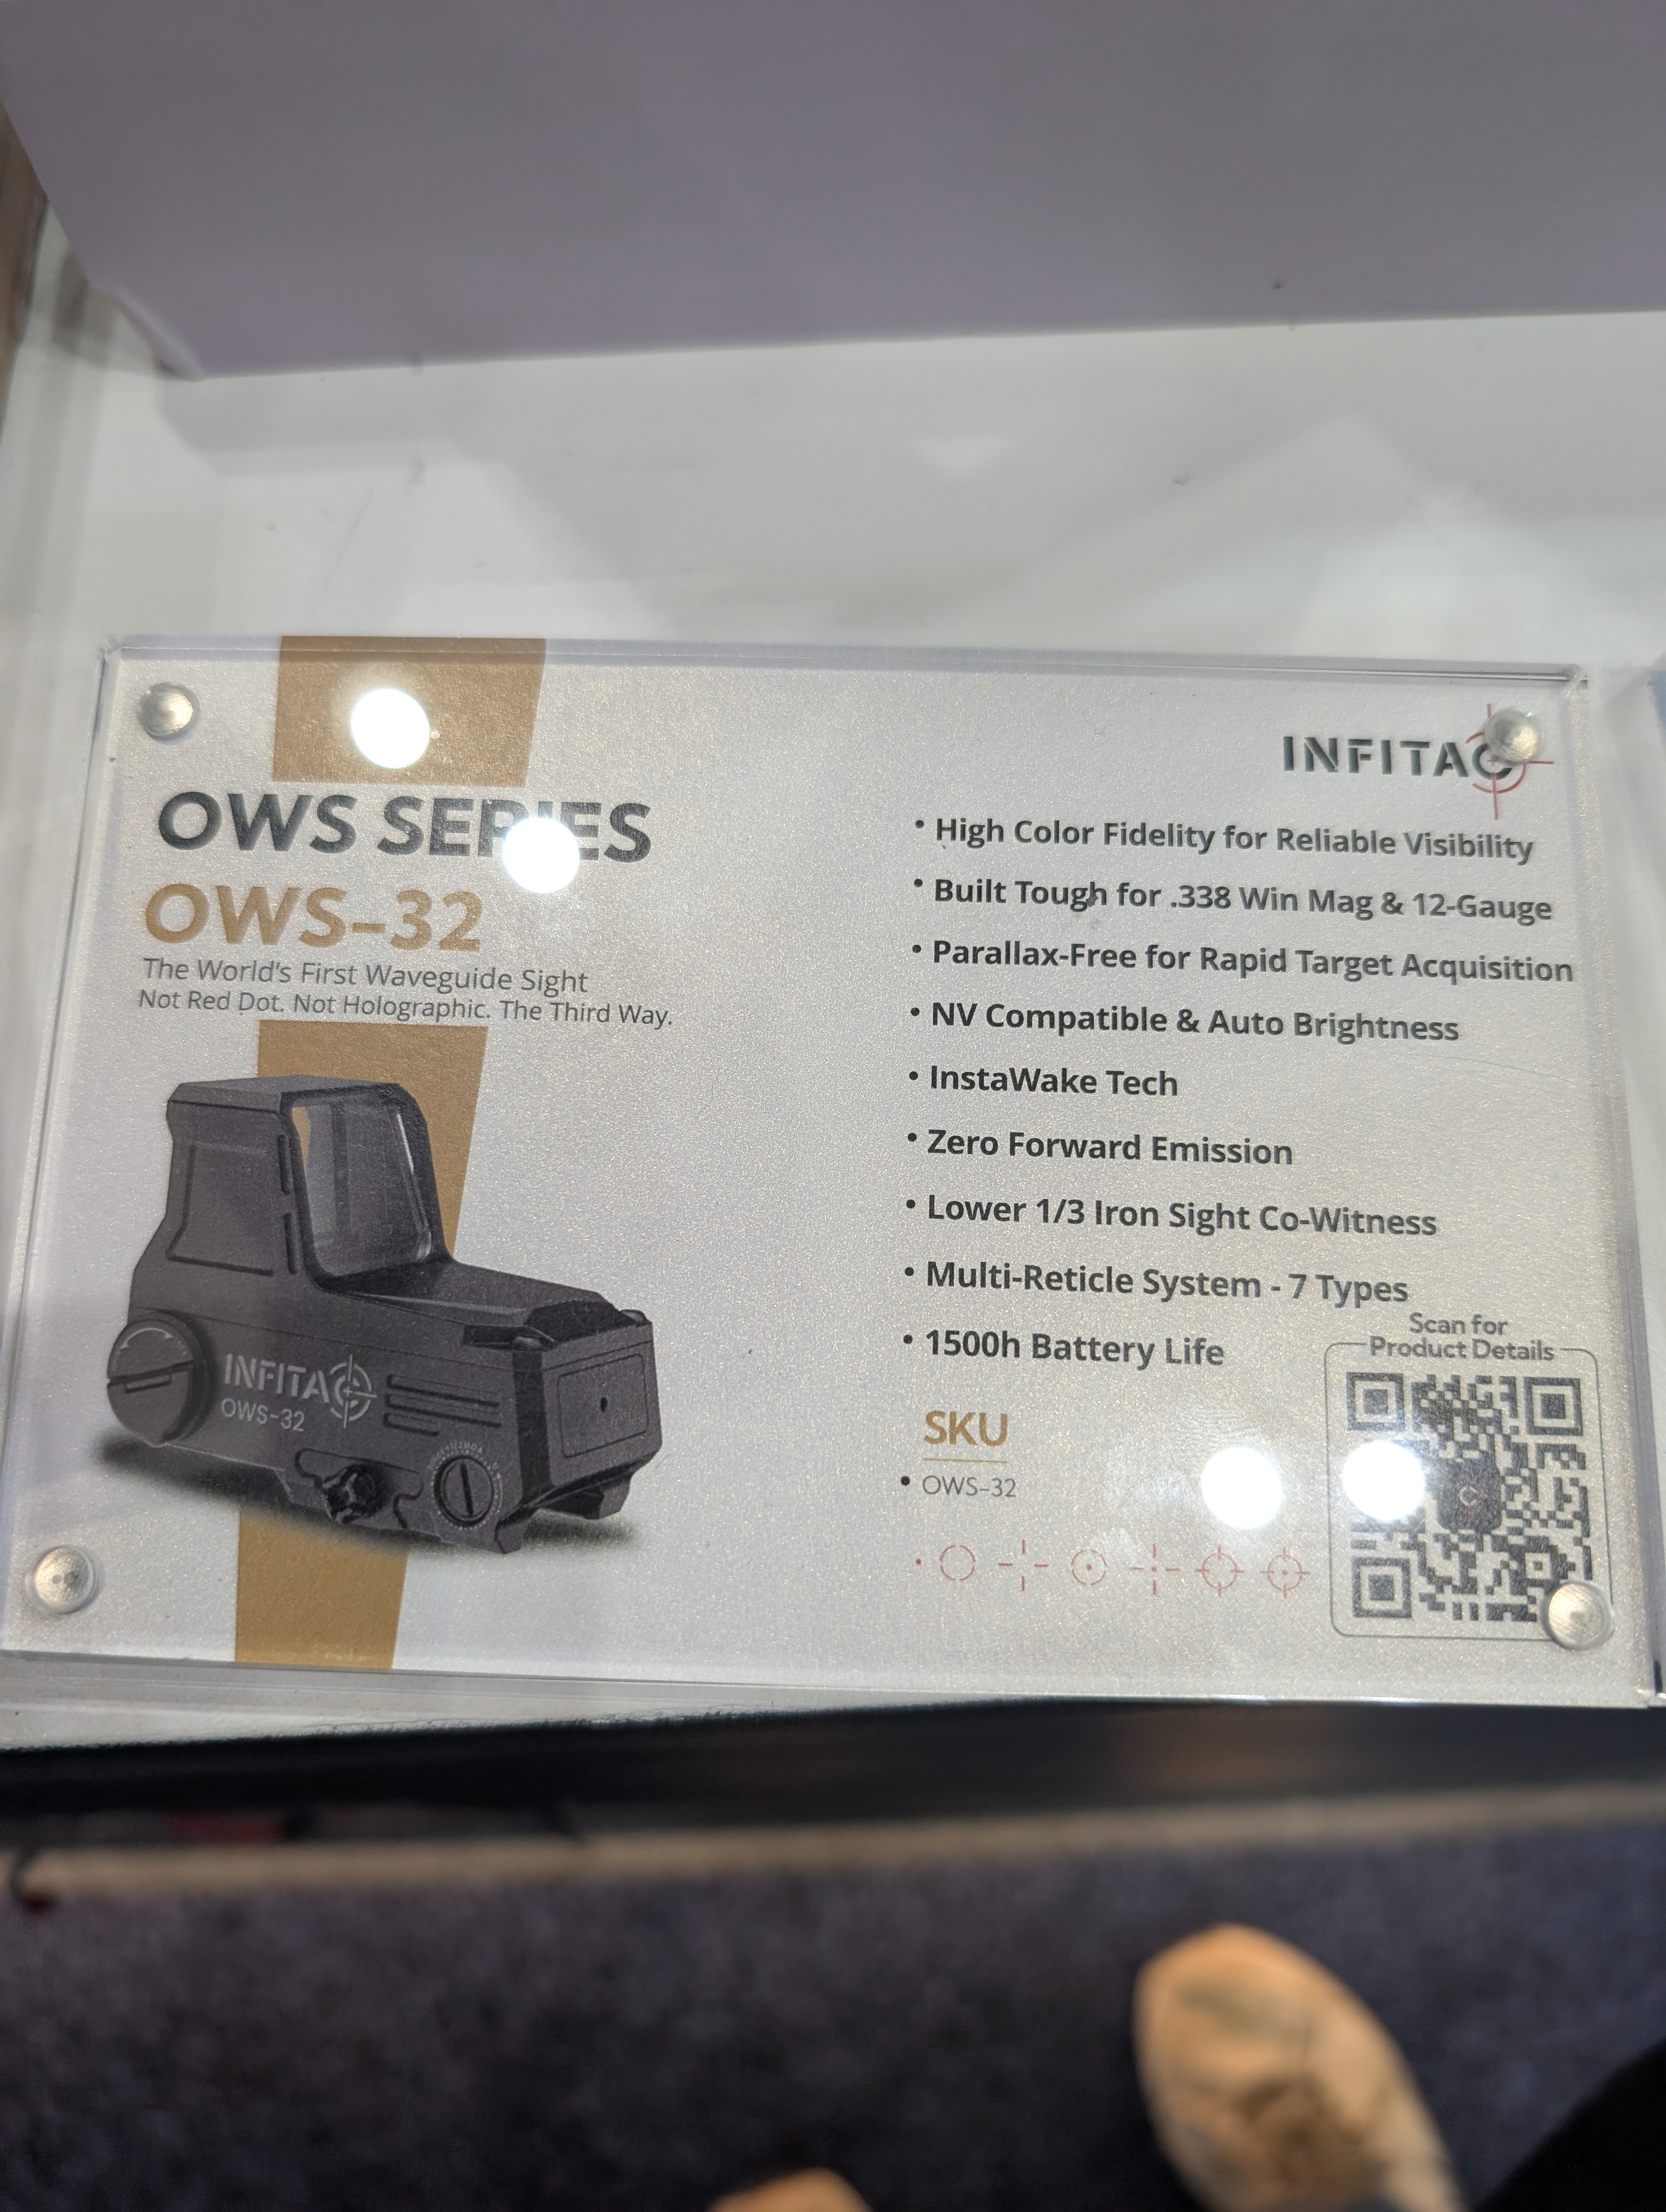
Infitac has been pushing their mini thermal sights a lot lately, but they also had a new OWS-32 sight that uses a “waveguide” sight. This is supposedly a different technology than red dot emitters and holographic emitters (“third way”). They had a compelling demo of it on a sight with a purposefully cracked display – it was still extremely easy to see and use. I think the success of the optic is going to be dependent on the MSRP, but they’re doing something new, which I commend.
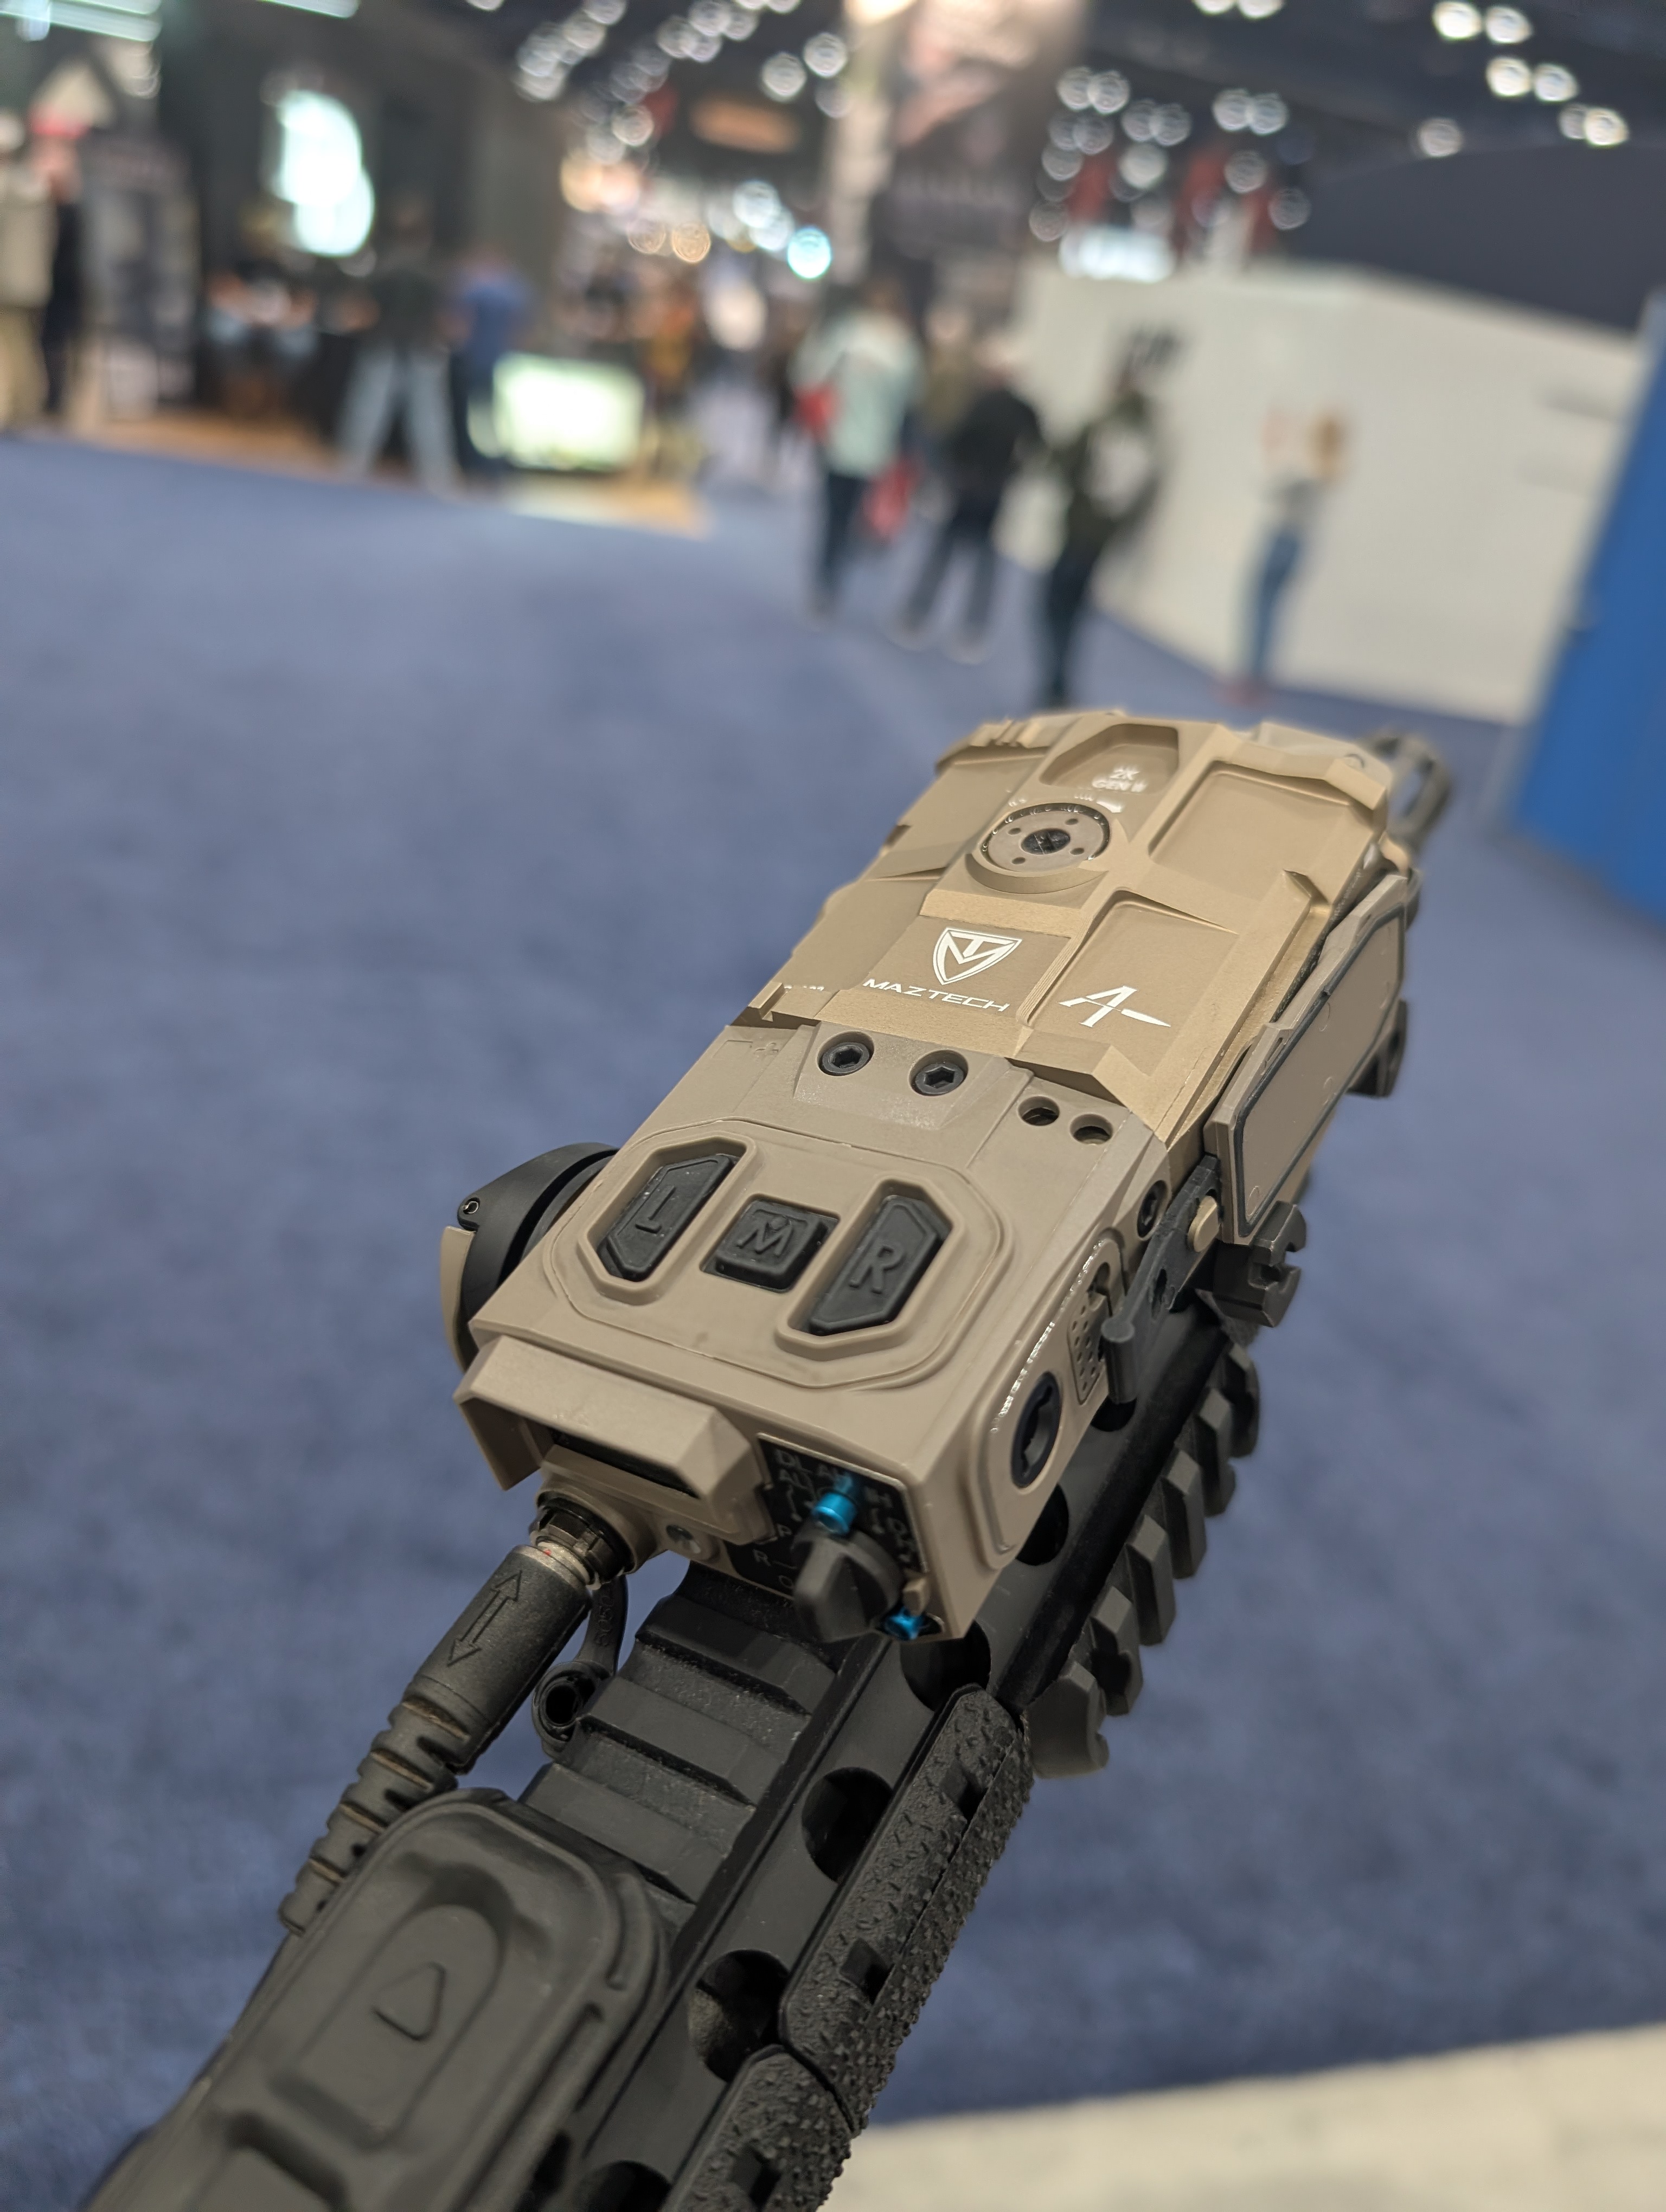
Magpul, very unsurprisingly, had a huge display. The sales rep I spoke to was a PM on the Maztech integration project, and pretty much wanted to talk about that. That suited me fine, because the Maztech X4 is one of the more interesting things to come out of Magpul.
They had a production setup on hand, and honestly… it was pretty cool. One of the neatest tricks it had was showing you the drop of your projectile when the rifle was canted, which is legitimately useful in real world scenarios. It also integrates with the Maztech LRF devices for on-gun ranging. (They did drop the ball somewhat by not including an IR VCSEL illuminator on their LRF, which would have complemented the IR laser quite nicely.) Ultimately, the X4 system is not cheap ($5500-$8000+), but for professional LPVO use cases, I could see agencies springing for it.
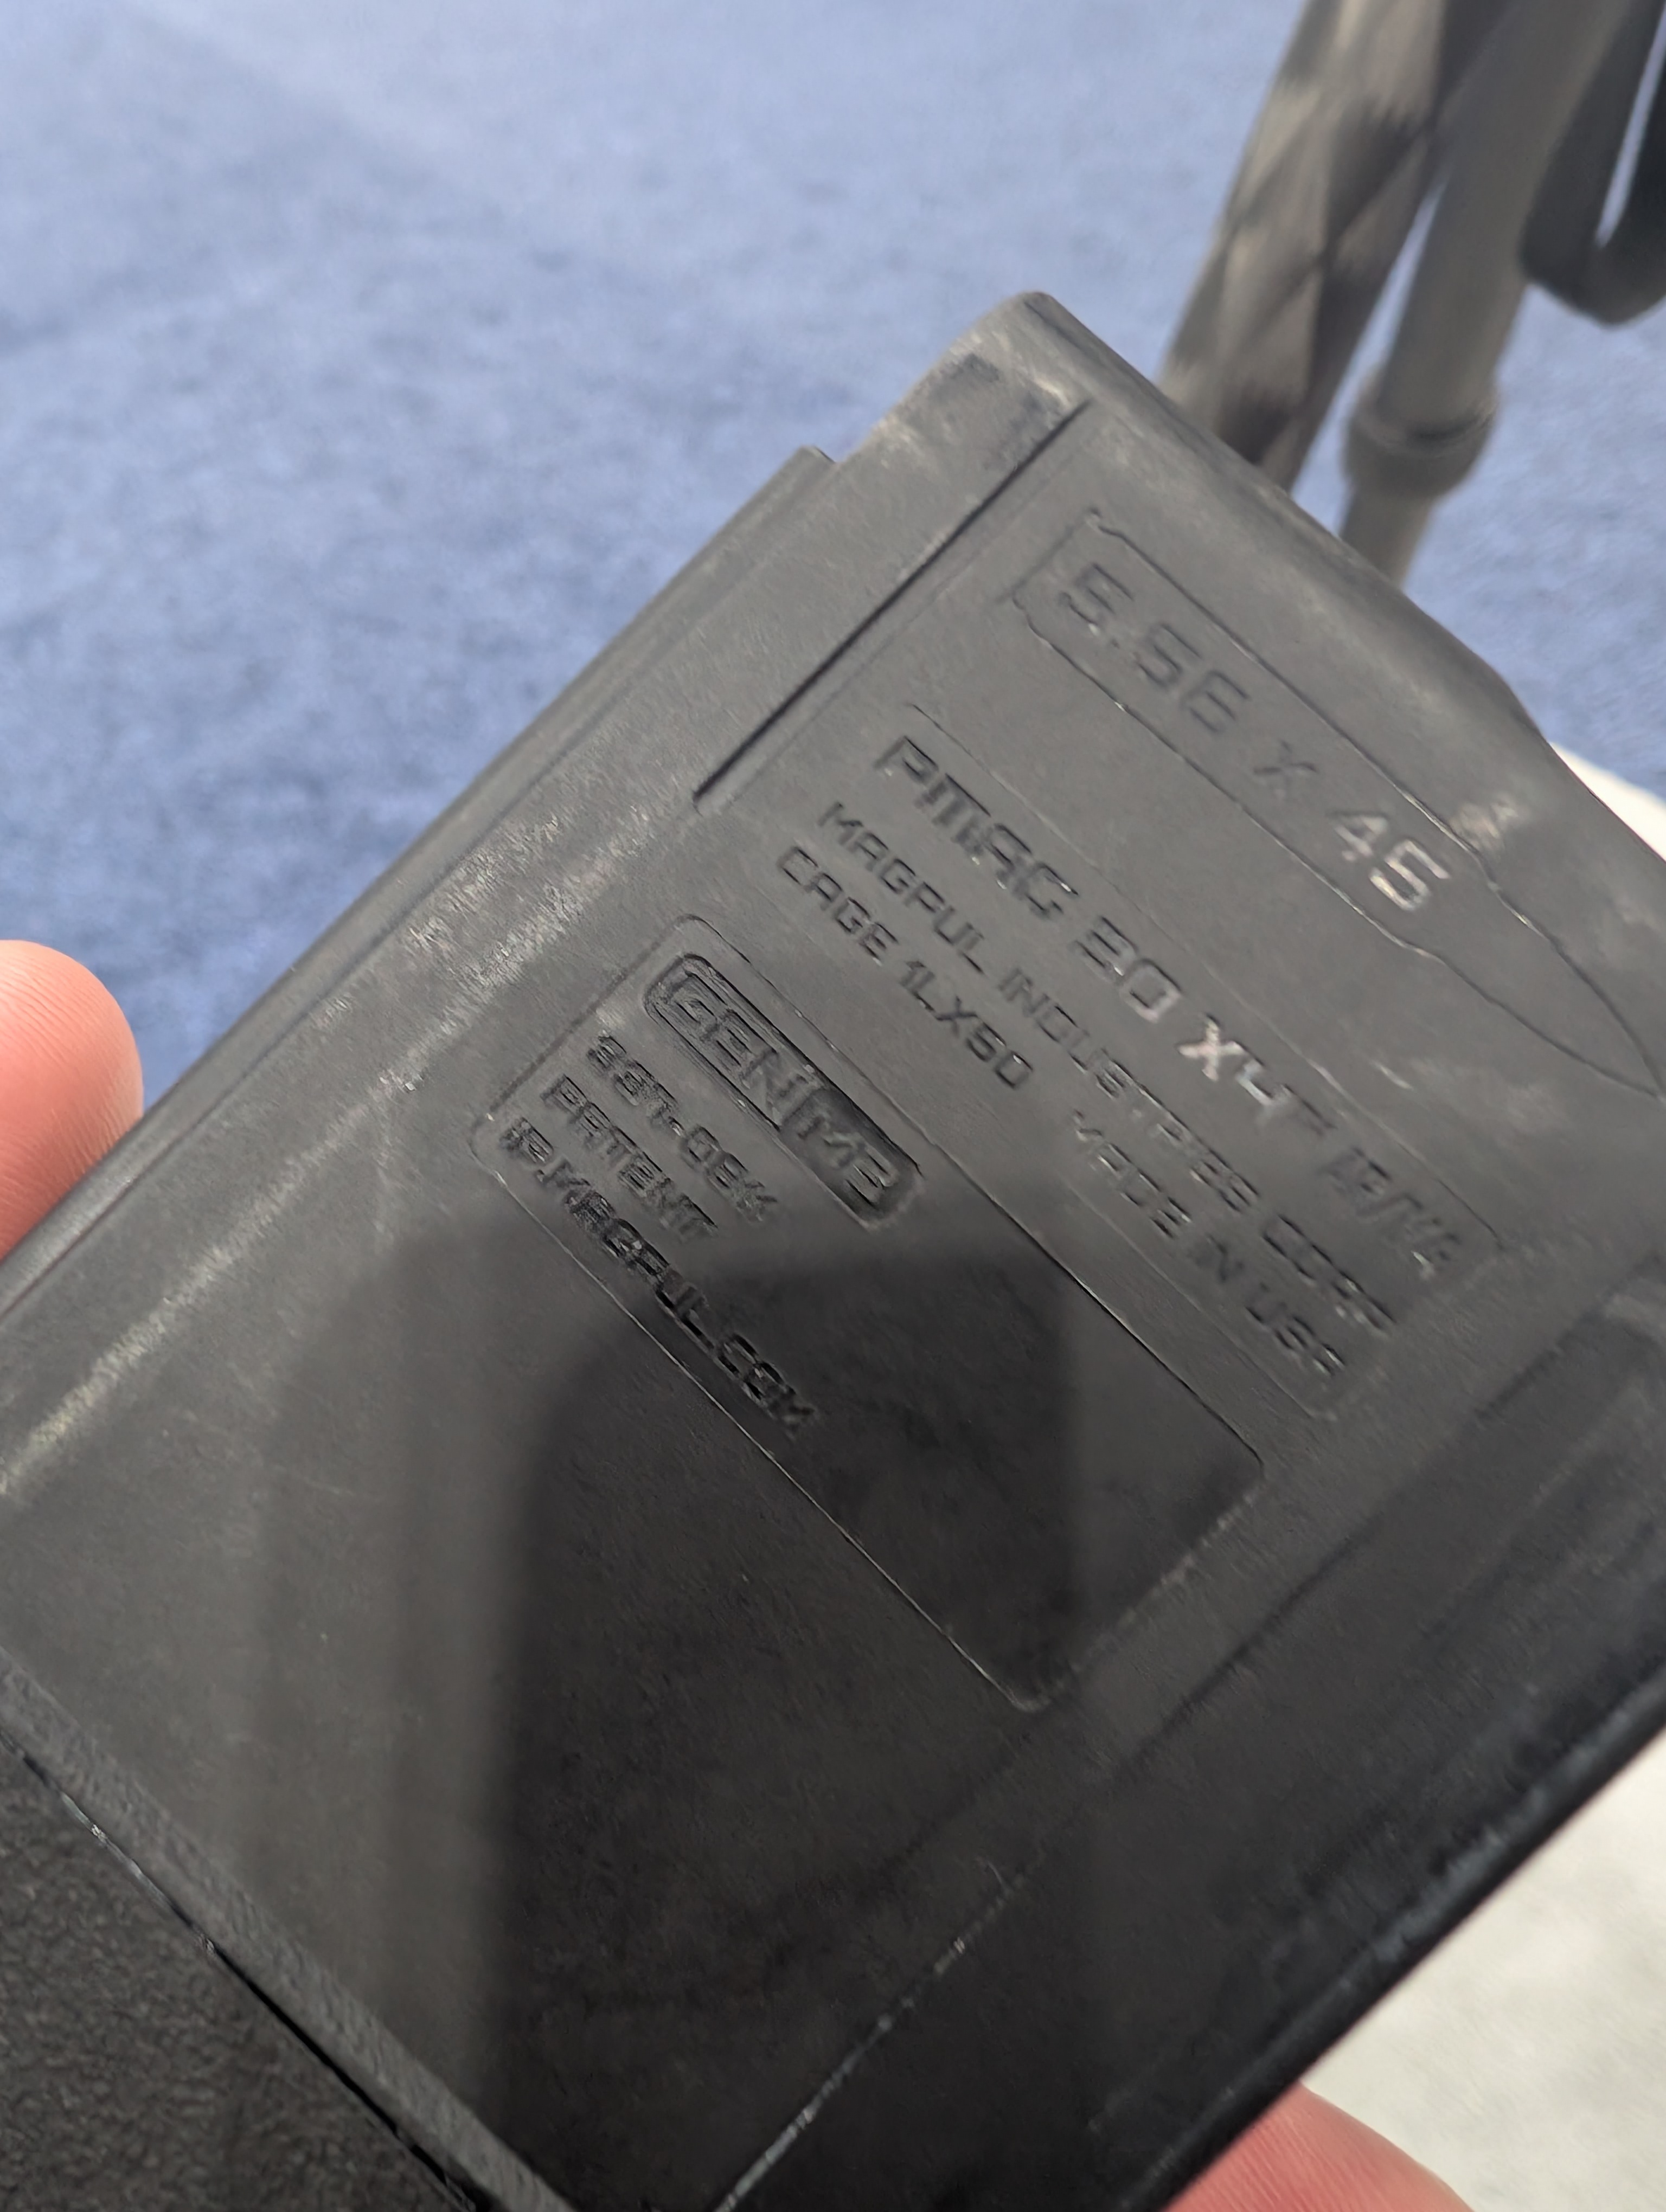
As it turns out, Magpul is also steadily working on the magazine capacity counting tech for the X4, which apparently requires a special magazine – the model is denoted with an X4. I’ve taken a picture of that in case you’re interested.
I spent a lot of time at IWI’s booth. The Hebrew Hammer is, after all, very interested in Israeli firearms, and the release of the Arad 5 is exciting news on that topic. I had the chance to handle the new Arad, and talk to an IWI rep about the release.
The version of the Arad we’re getting is slightly modified from the Israeli original, and is now the standard product-improved version in Israel. As it turns out, the original Arad did not use a standard AR-15 lower receiver! The receiver was extremely similar, but was not compatible. For obvious reasons, IWI (US) made modifications to go back to a standard AR receiver, which were then pushed back to the IWI (Israel) entity. (The Arad uses the same Zion-15 lowers.)
The Arad uses the same quick-change barrel cam as the X95, which means the possibility of more barrel variants is out there. Nothing was announced or mentioned, but you’ve got to figure out .300 BLK is at least being thought about.
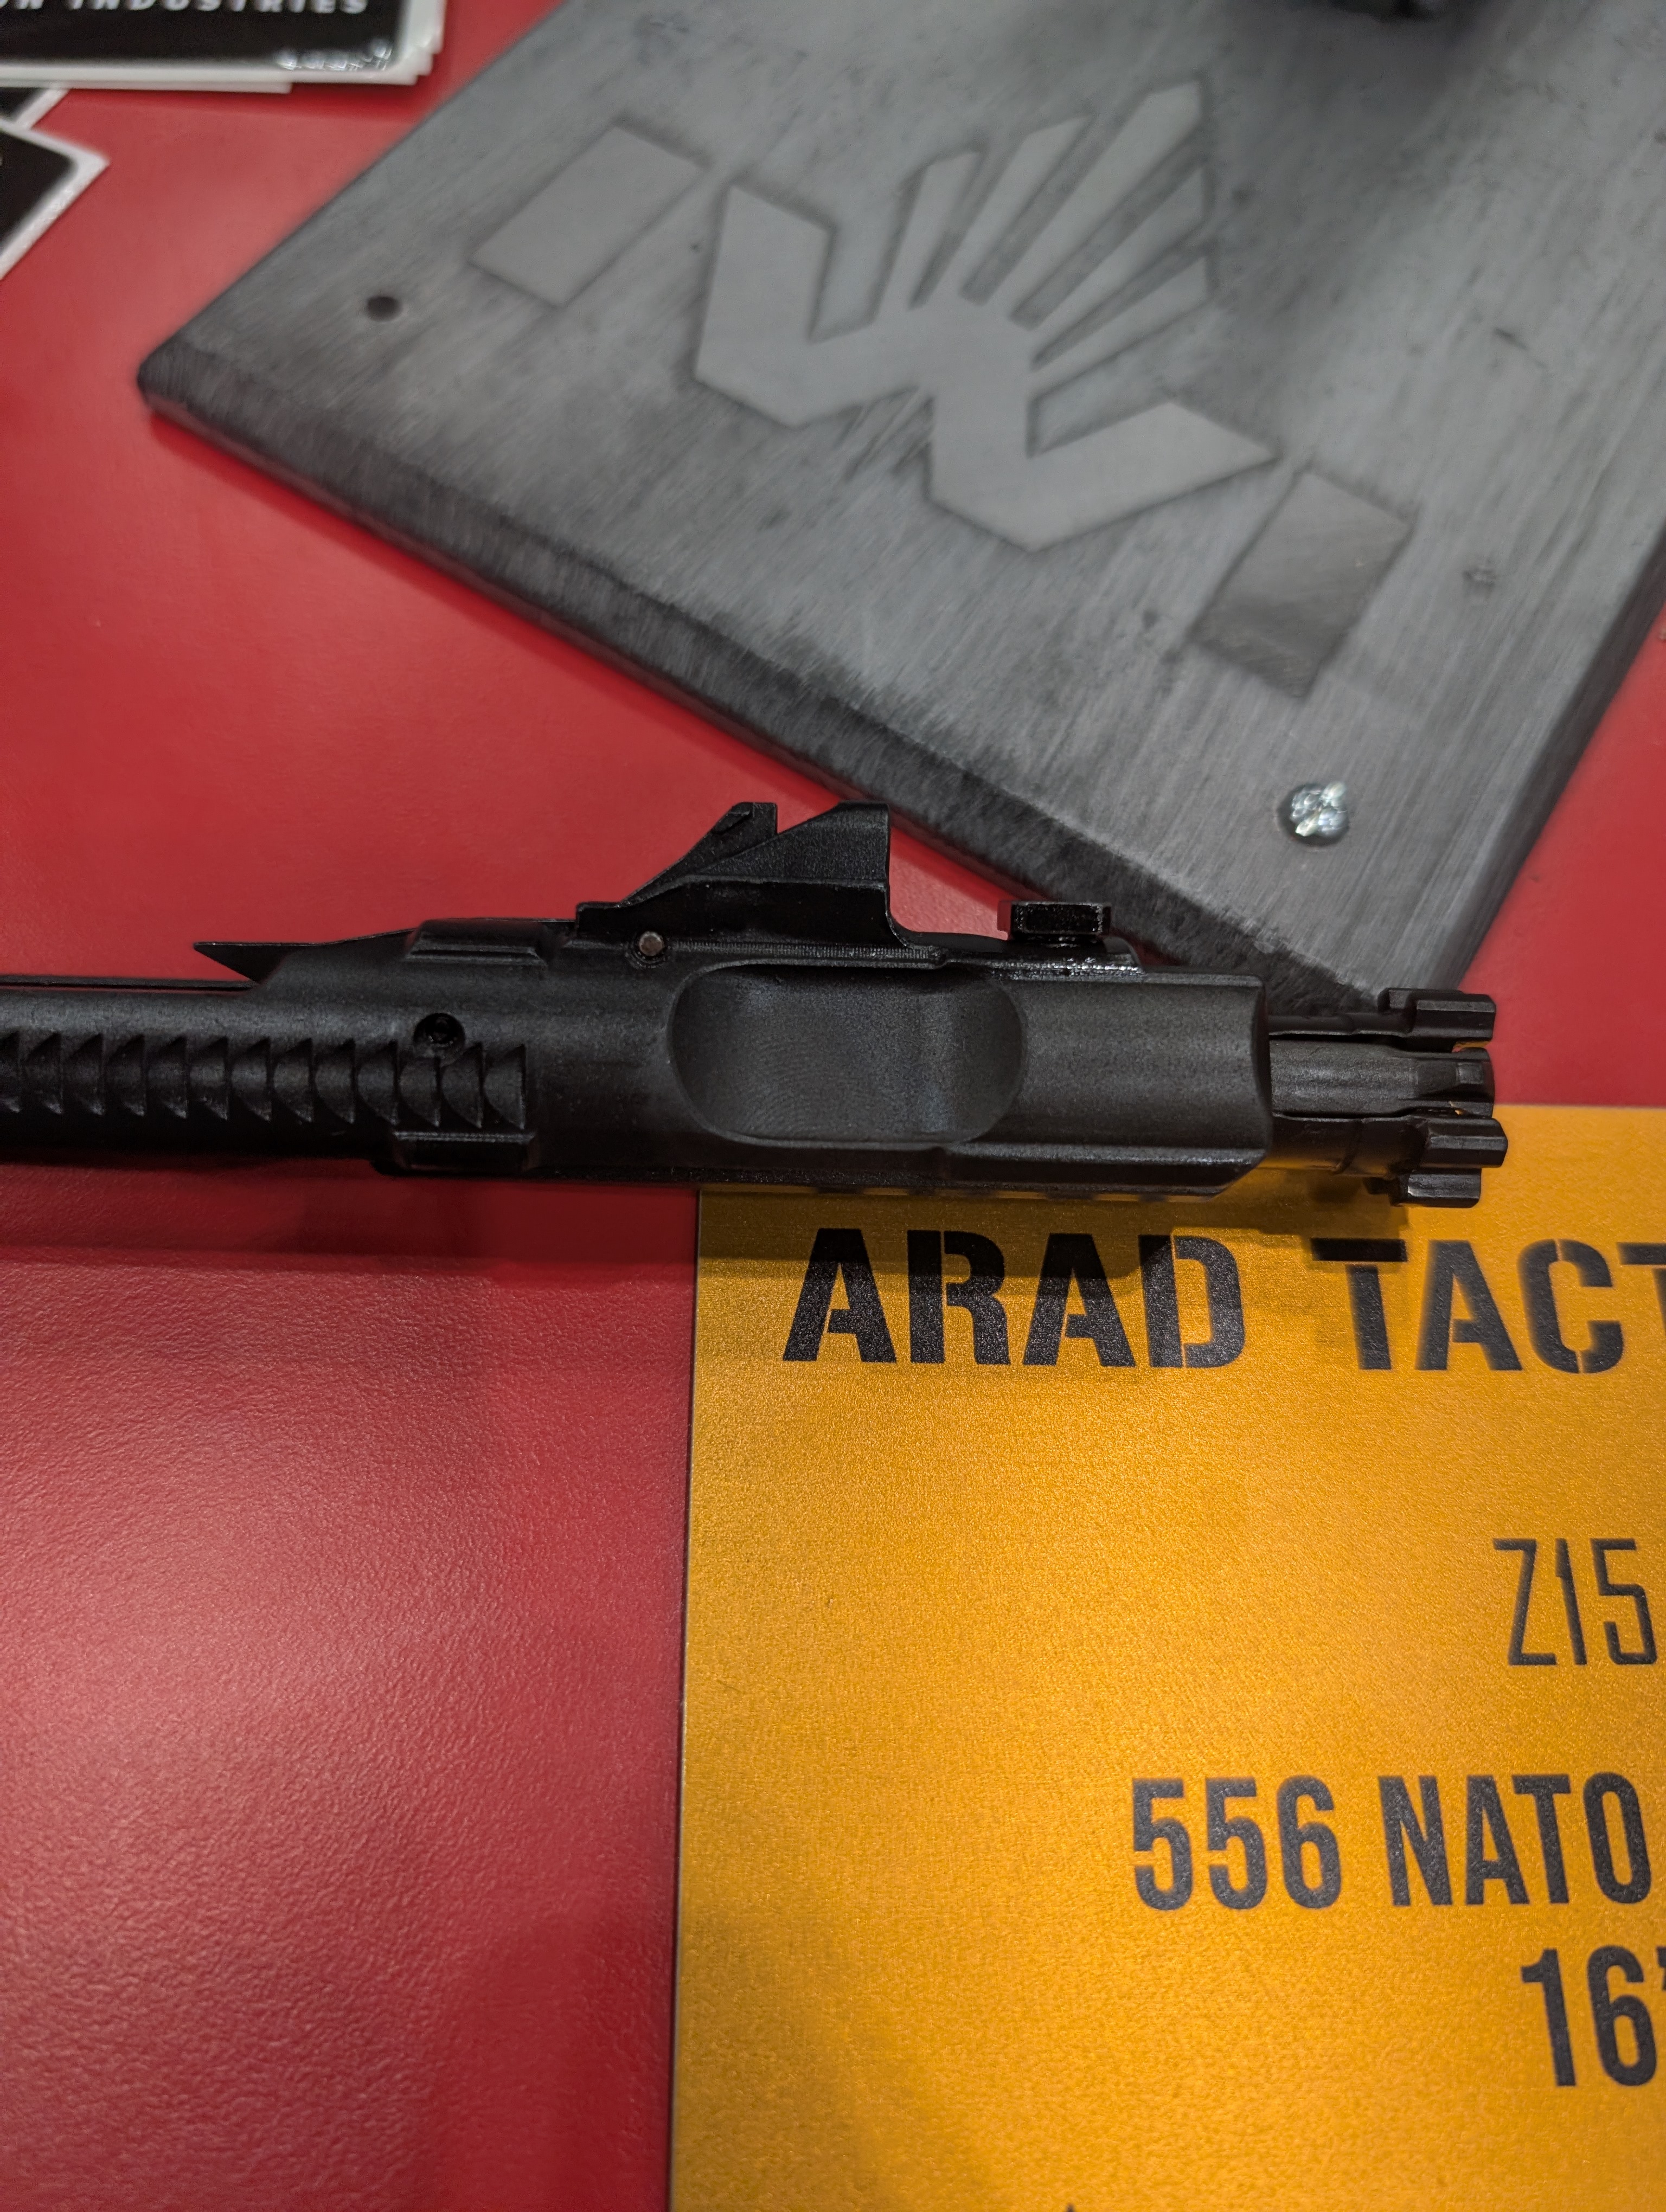
Just for fun, I took a picture of the bolt carrier, which appears to be the usual short-stroke piston bolt carrier design we’ve seen on other platforms.
The Carmel is not being discontinued, despite the market overlap with the Arad. IWI seems to still be moderately enthusiastic about the Carmel, so you still have time to procure one.

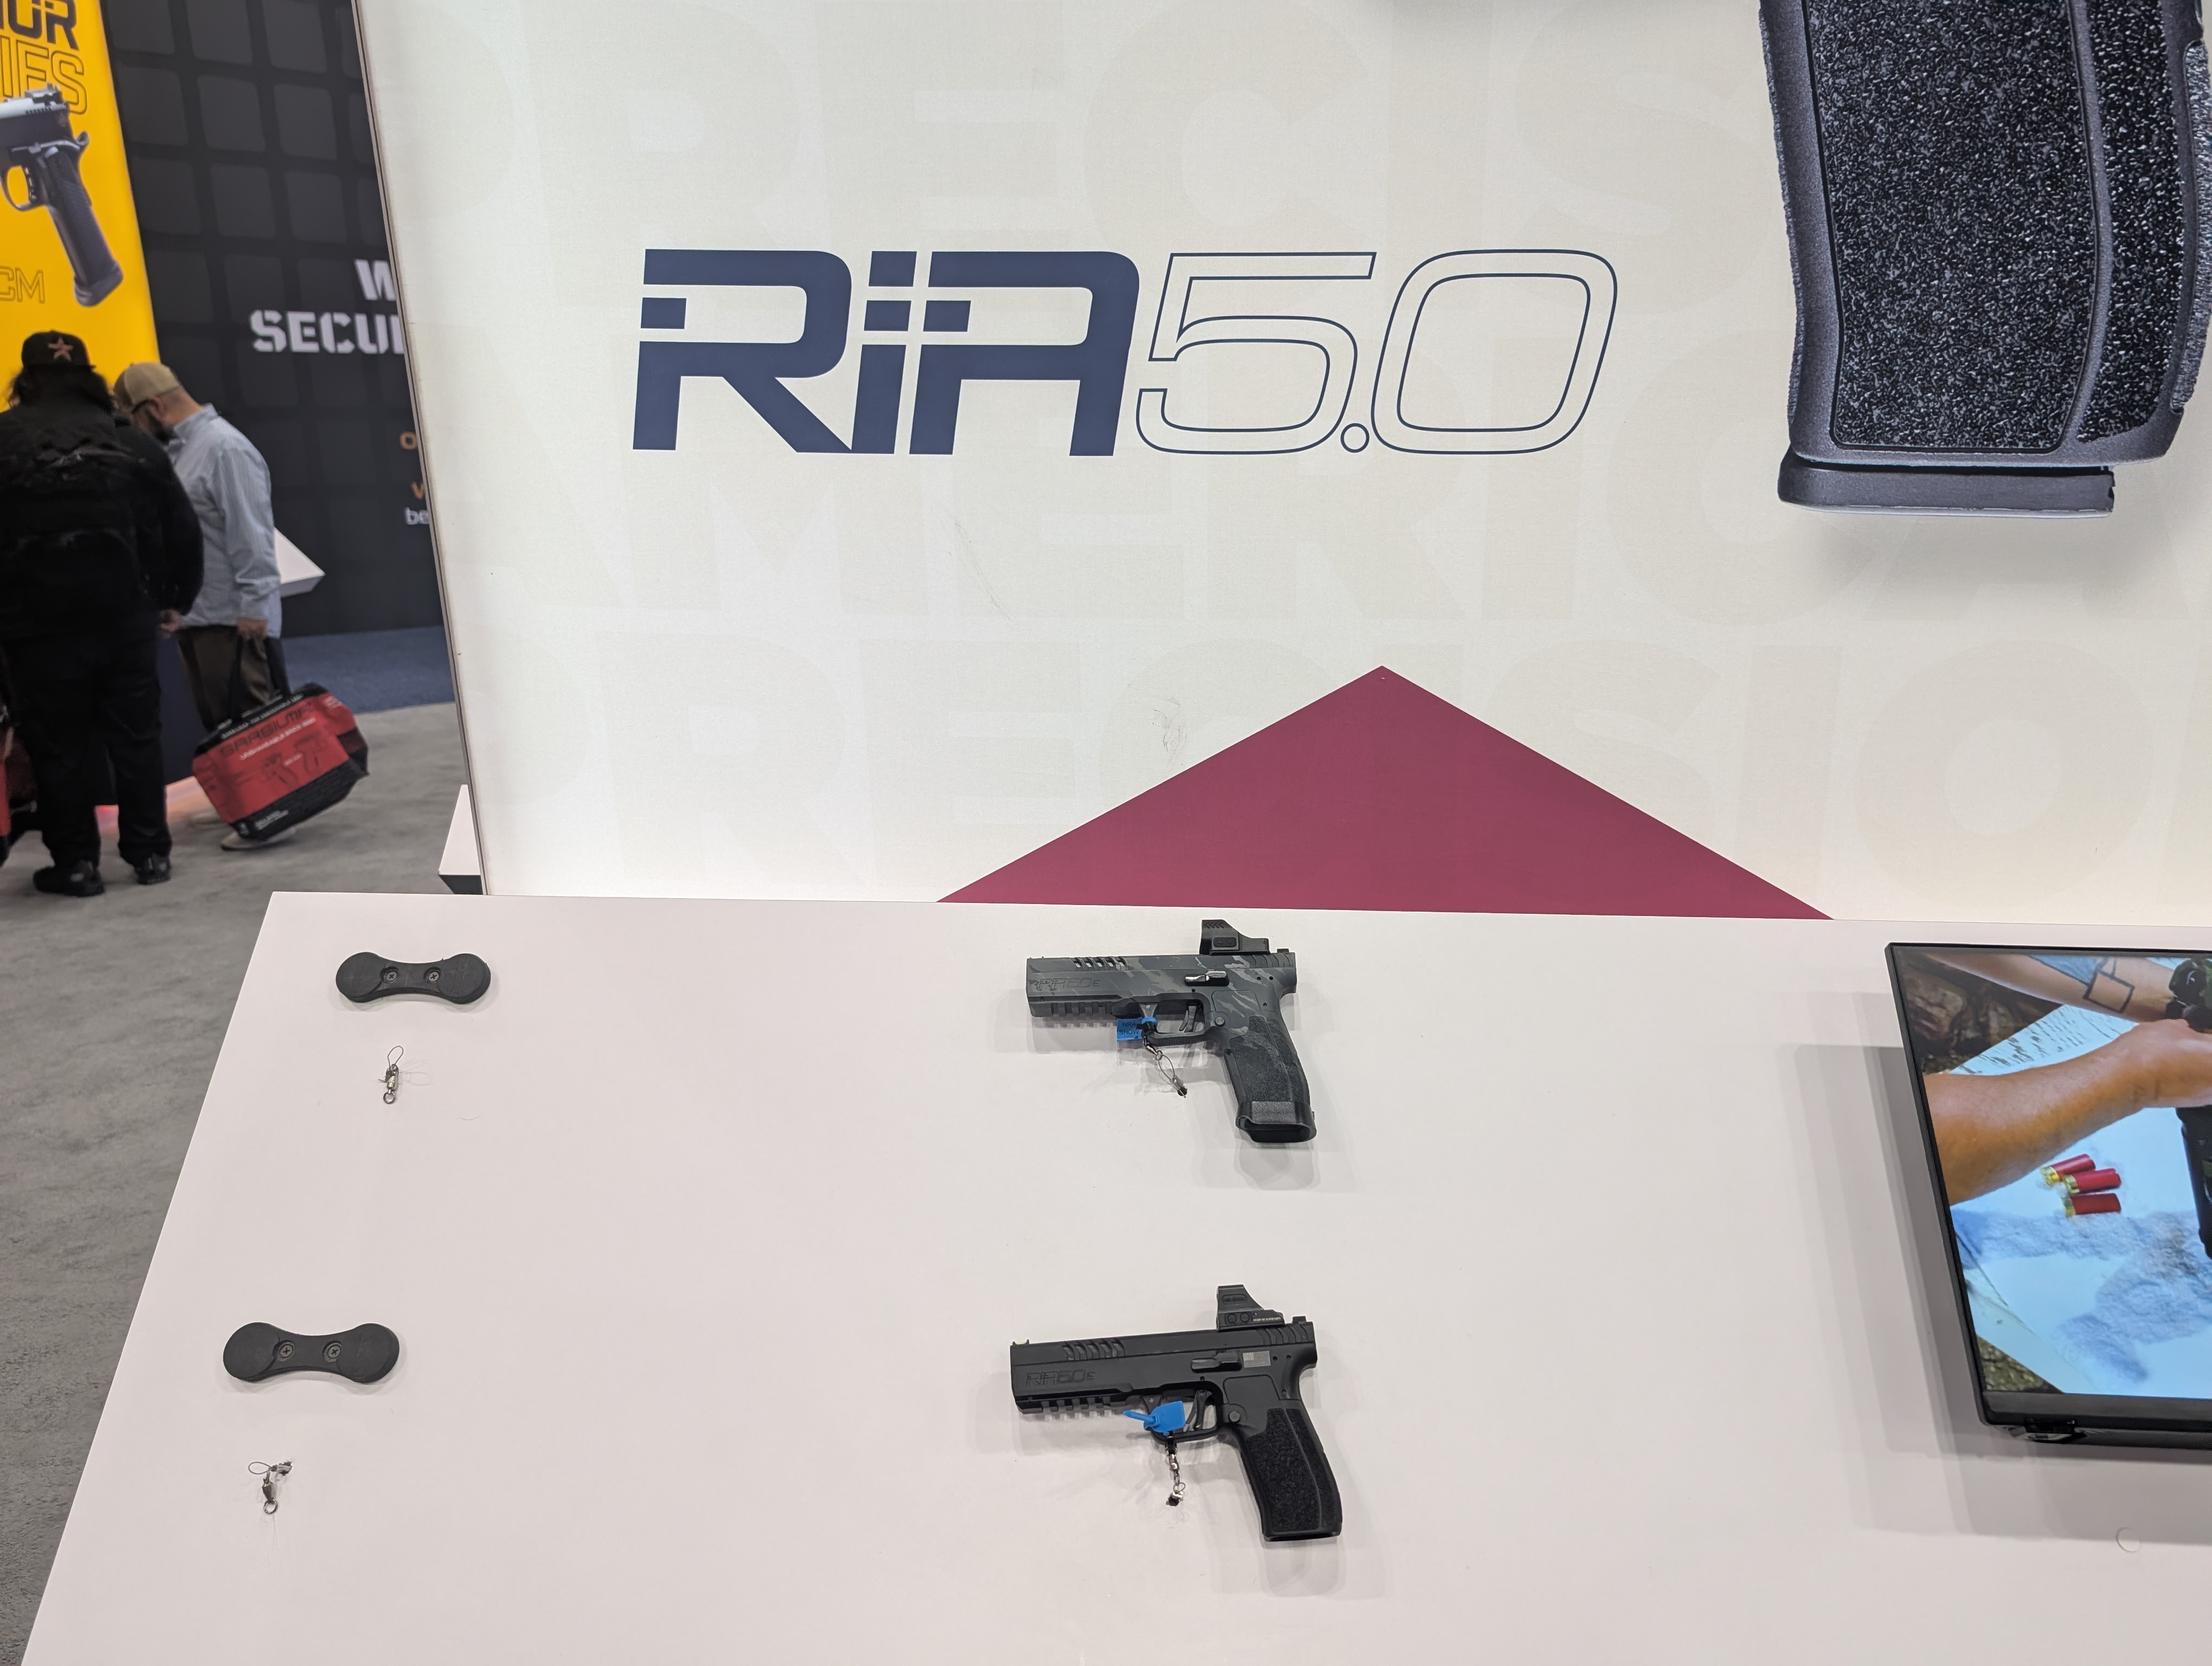
I also spent a fair bit of time with RIA. I am .22 TCM enthusiast, and much to my delight, RIA was heavily advertising that caliber. After discussions with the rep, I found out the following:
- .22 TCM is not dead. RIA had a giant banner for it. They were prominently displaying .22 TCM firearms (including the bolt action rifle). I know we were all a little worried when Martin Tuason passed away, but it seems RIA is still very much committed to the caliber.
- .22TCM is being submitted to SAAMI. The launch partner is Hornady. They will have reloading components. No timeline given on this, but it sounded like this year. It was not clear to me whether they were submitting both .22 TCM and 9R.
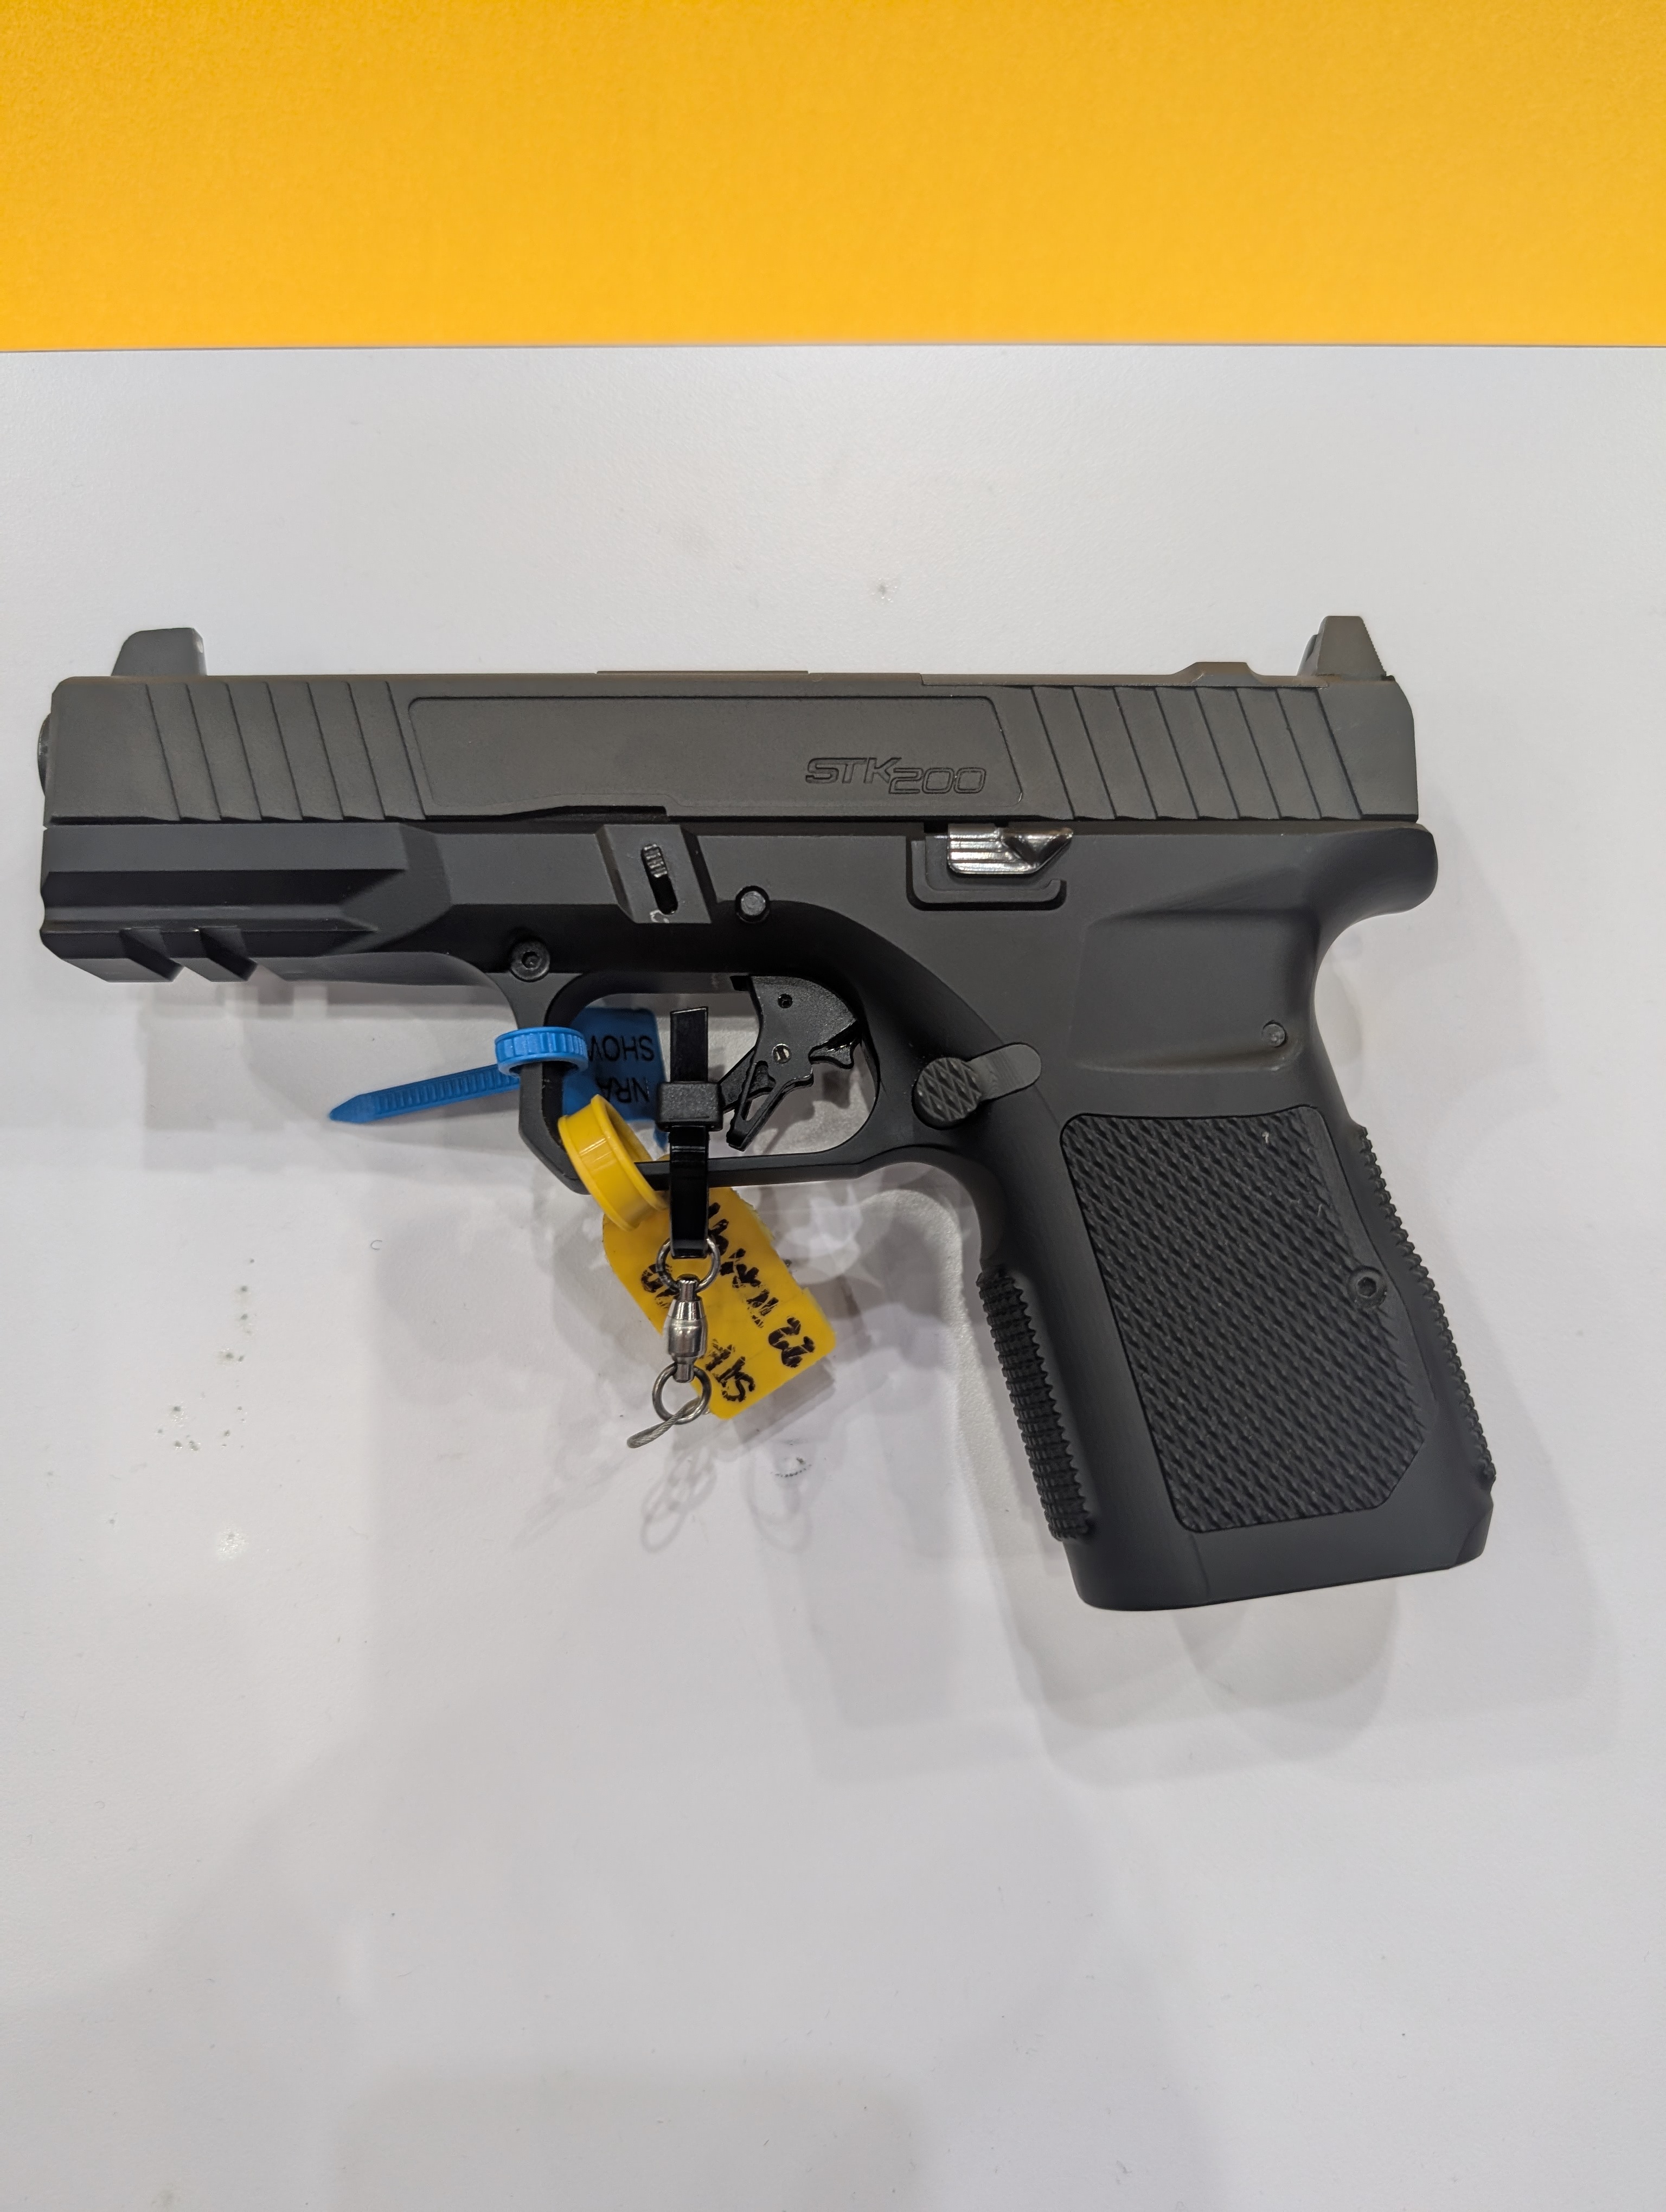
- RIA is releasing a .22 TCM 9R STK200. Photo attached of the gun (which has a small 22 TCM label on it, too). IIRC, release date is early summer, so soon. Assuming it works reliably, this should scratch the striker-fired itch.
- There were no plans (or at least none they’d disclose to me) for a .22 TCM semi-auto rifle platform. The rep seemed to think KAK was the way to go for this.
I was really very worried about the future of .22 TCM, so this was all fantastic news to me. I think RIA would really do a lot for the caliber if they released an AR-15 conversion upper for it, but it doesn’t seem like that’s in the cards right now.
RIA is also still promoting the 5.0 E platform, which I sometimes lust for, but cannot justify as a purchase.
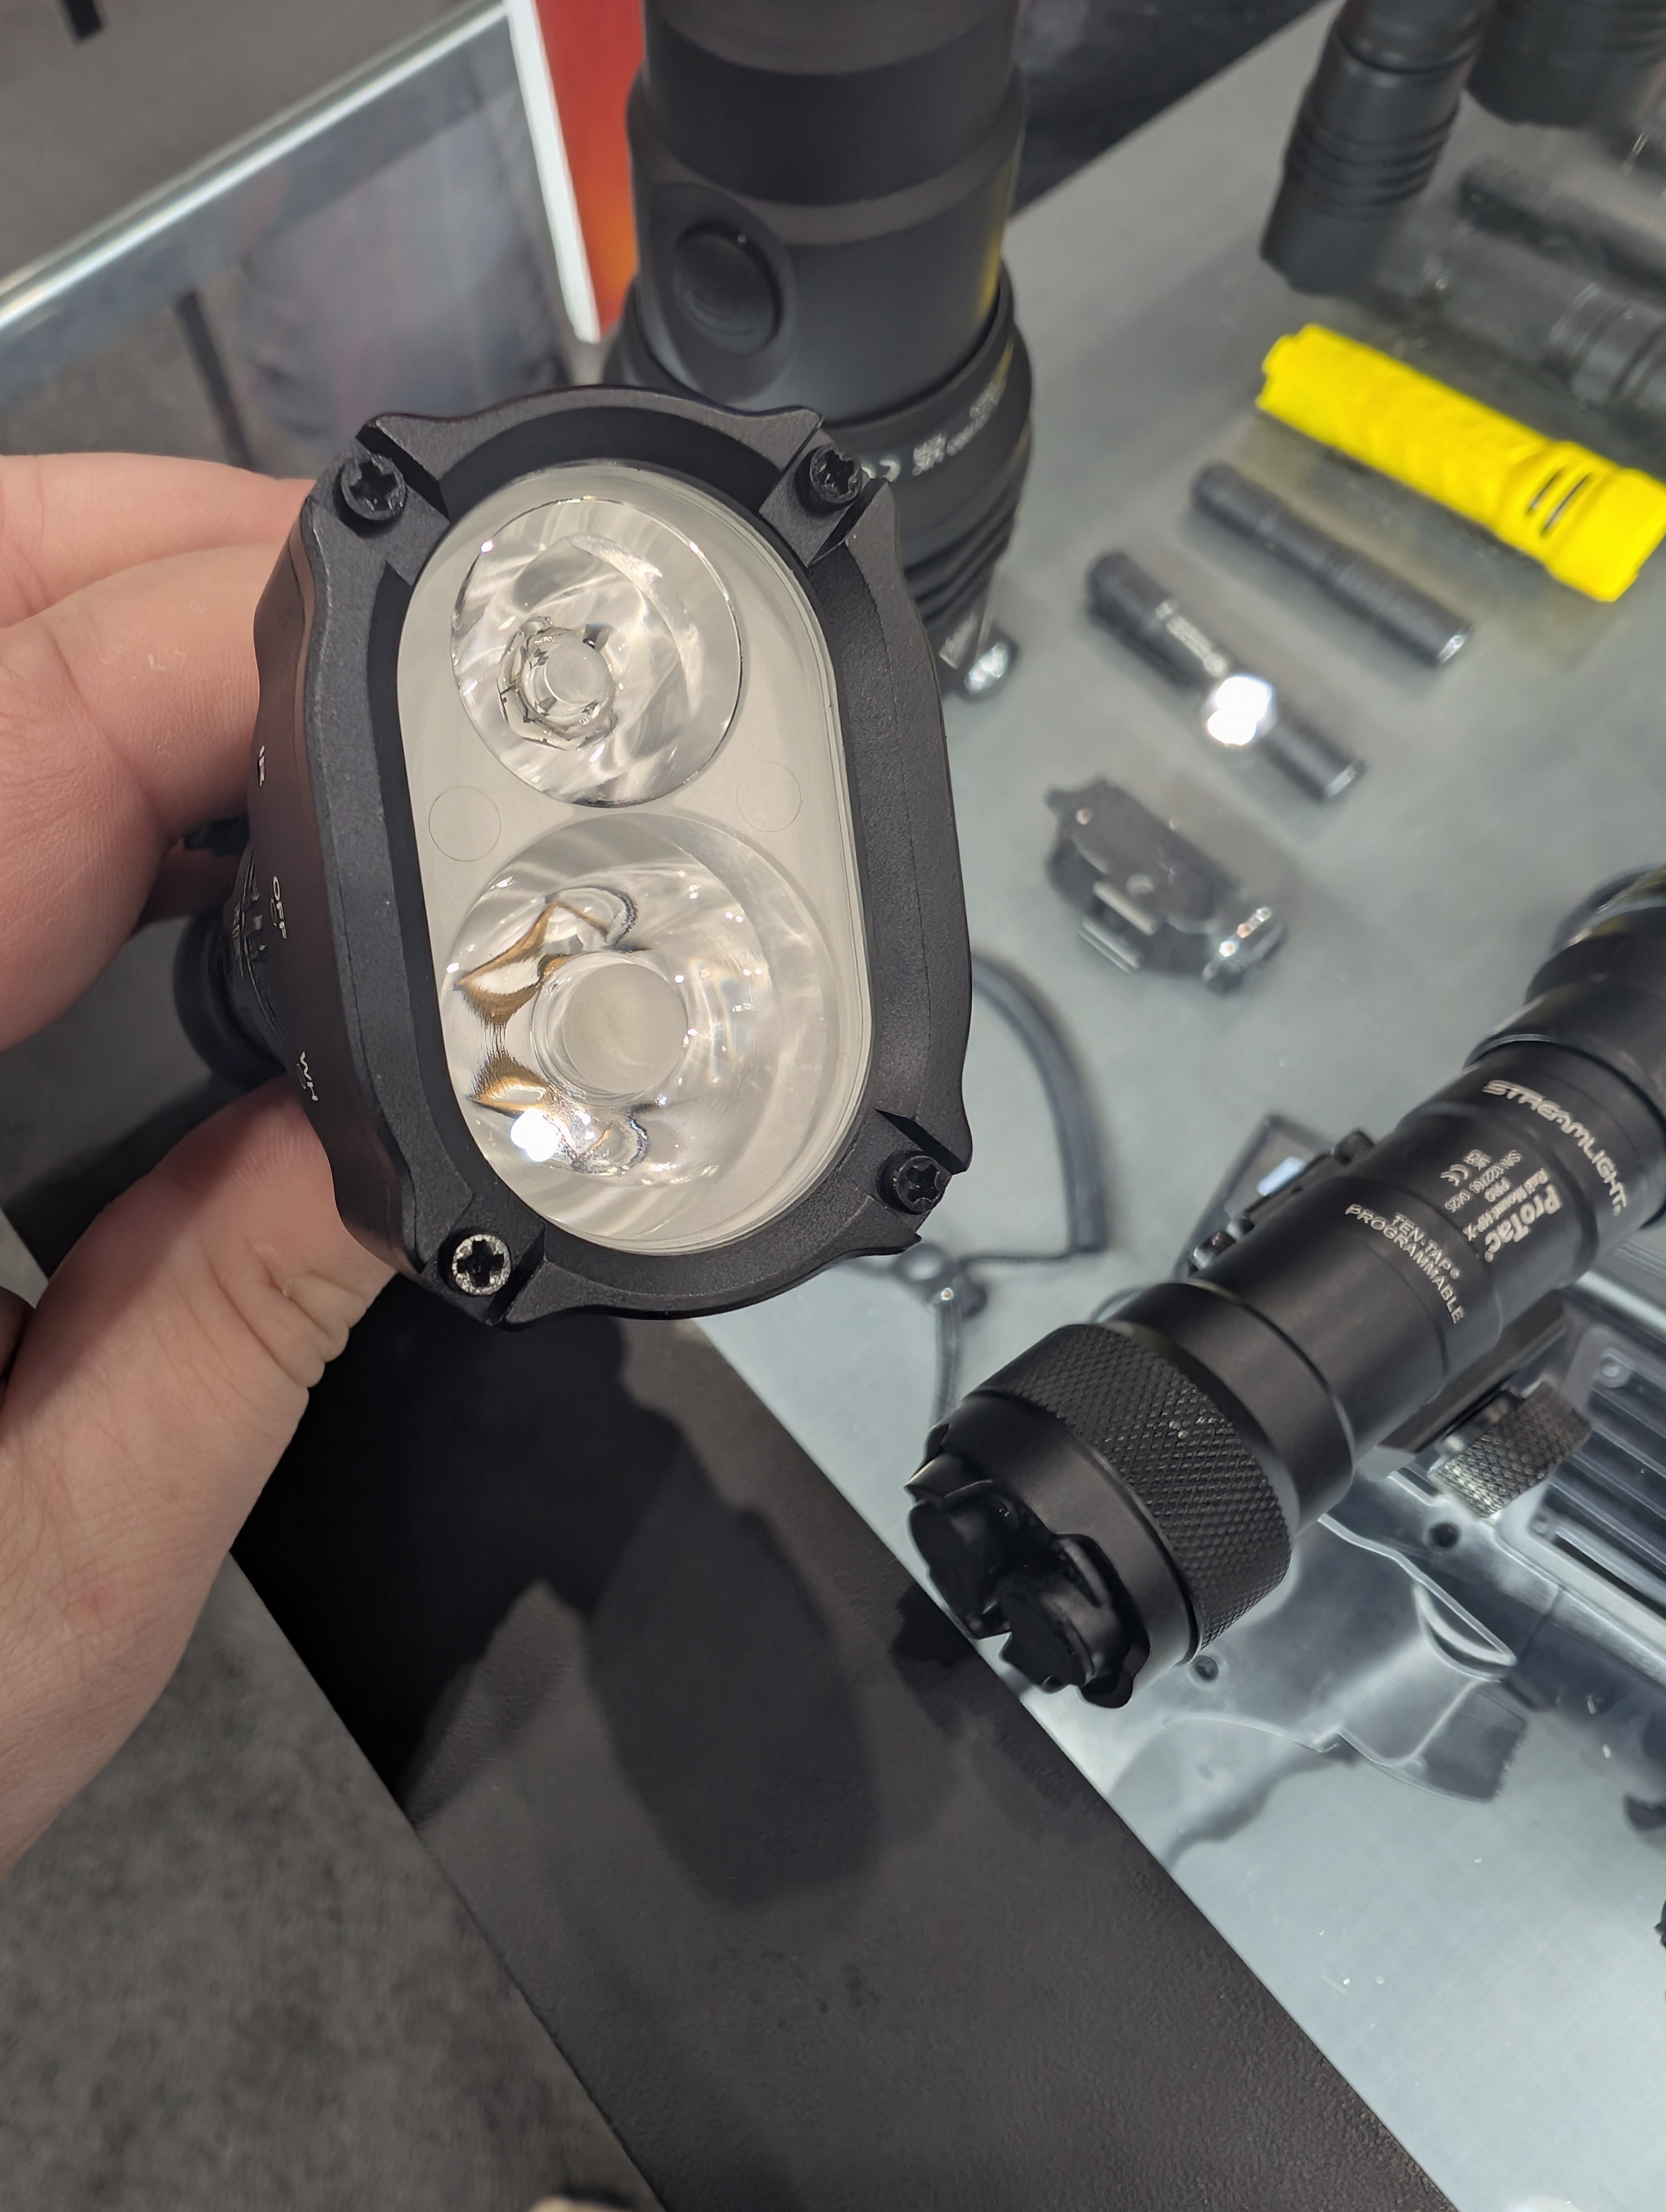
Streamlight was showing off a bunch of things, but the one I was interested in was the VIR Pro. The form factor works better than I expected, and the 40k candela white light is great, but this one is unfortunately yet another under-baked release. When playing with it, I noticed that if you click it on, switch it to off, and then move it back to white light, the white light will come back on. This is terrible in terms of white light ND potential, and not what a serious weapon light should do. It also still doesn’t use Crane switches, which is flatly inexplicable given where the industry is gone.
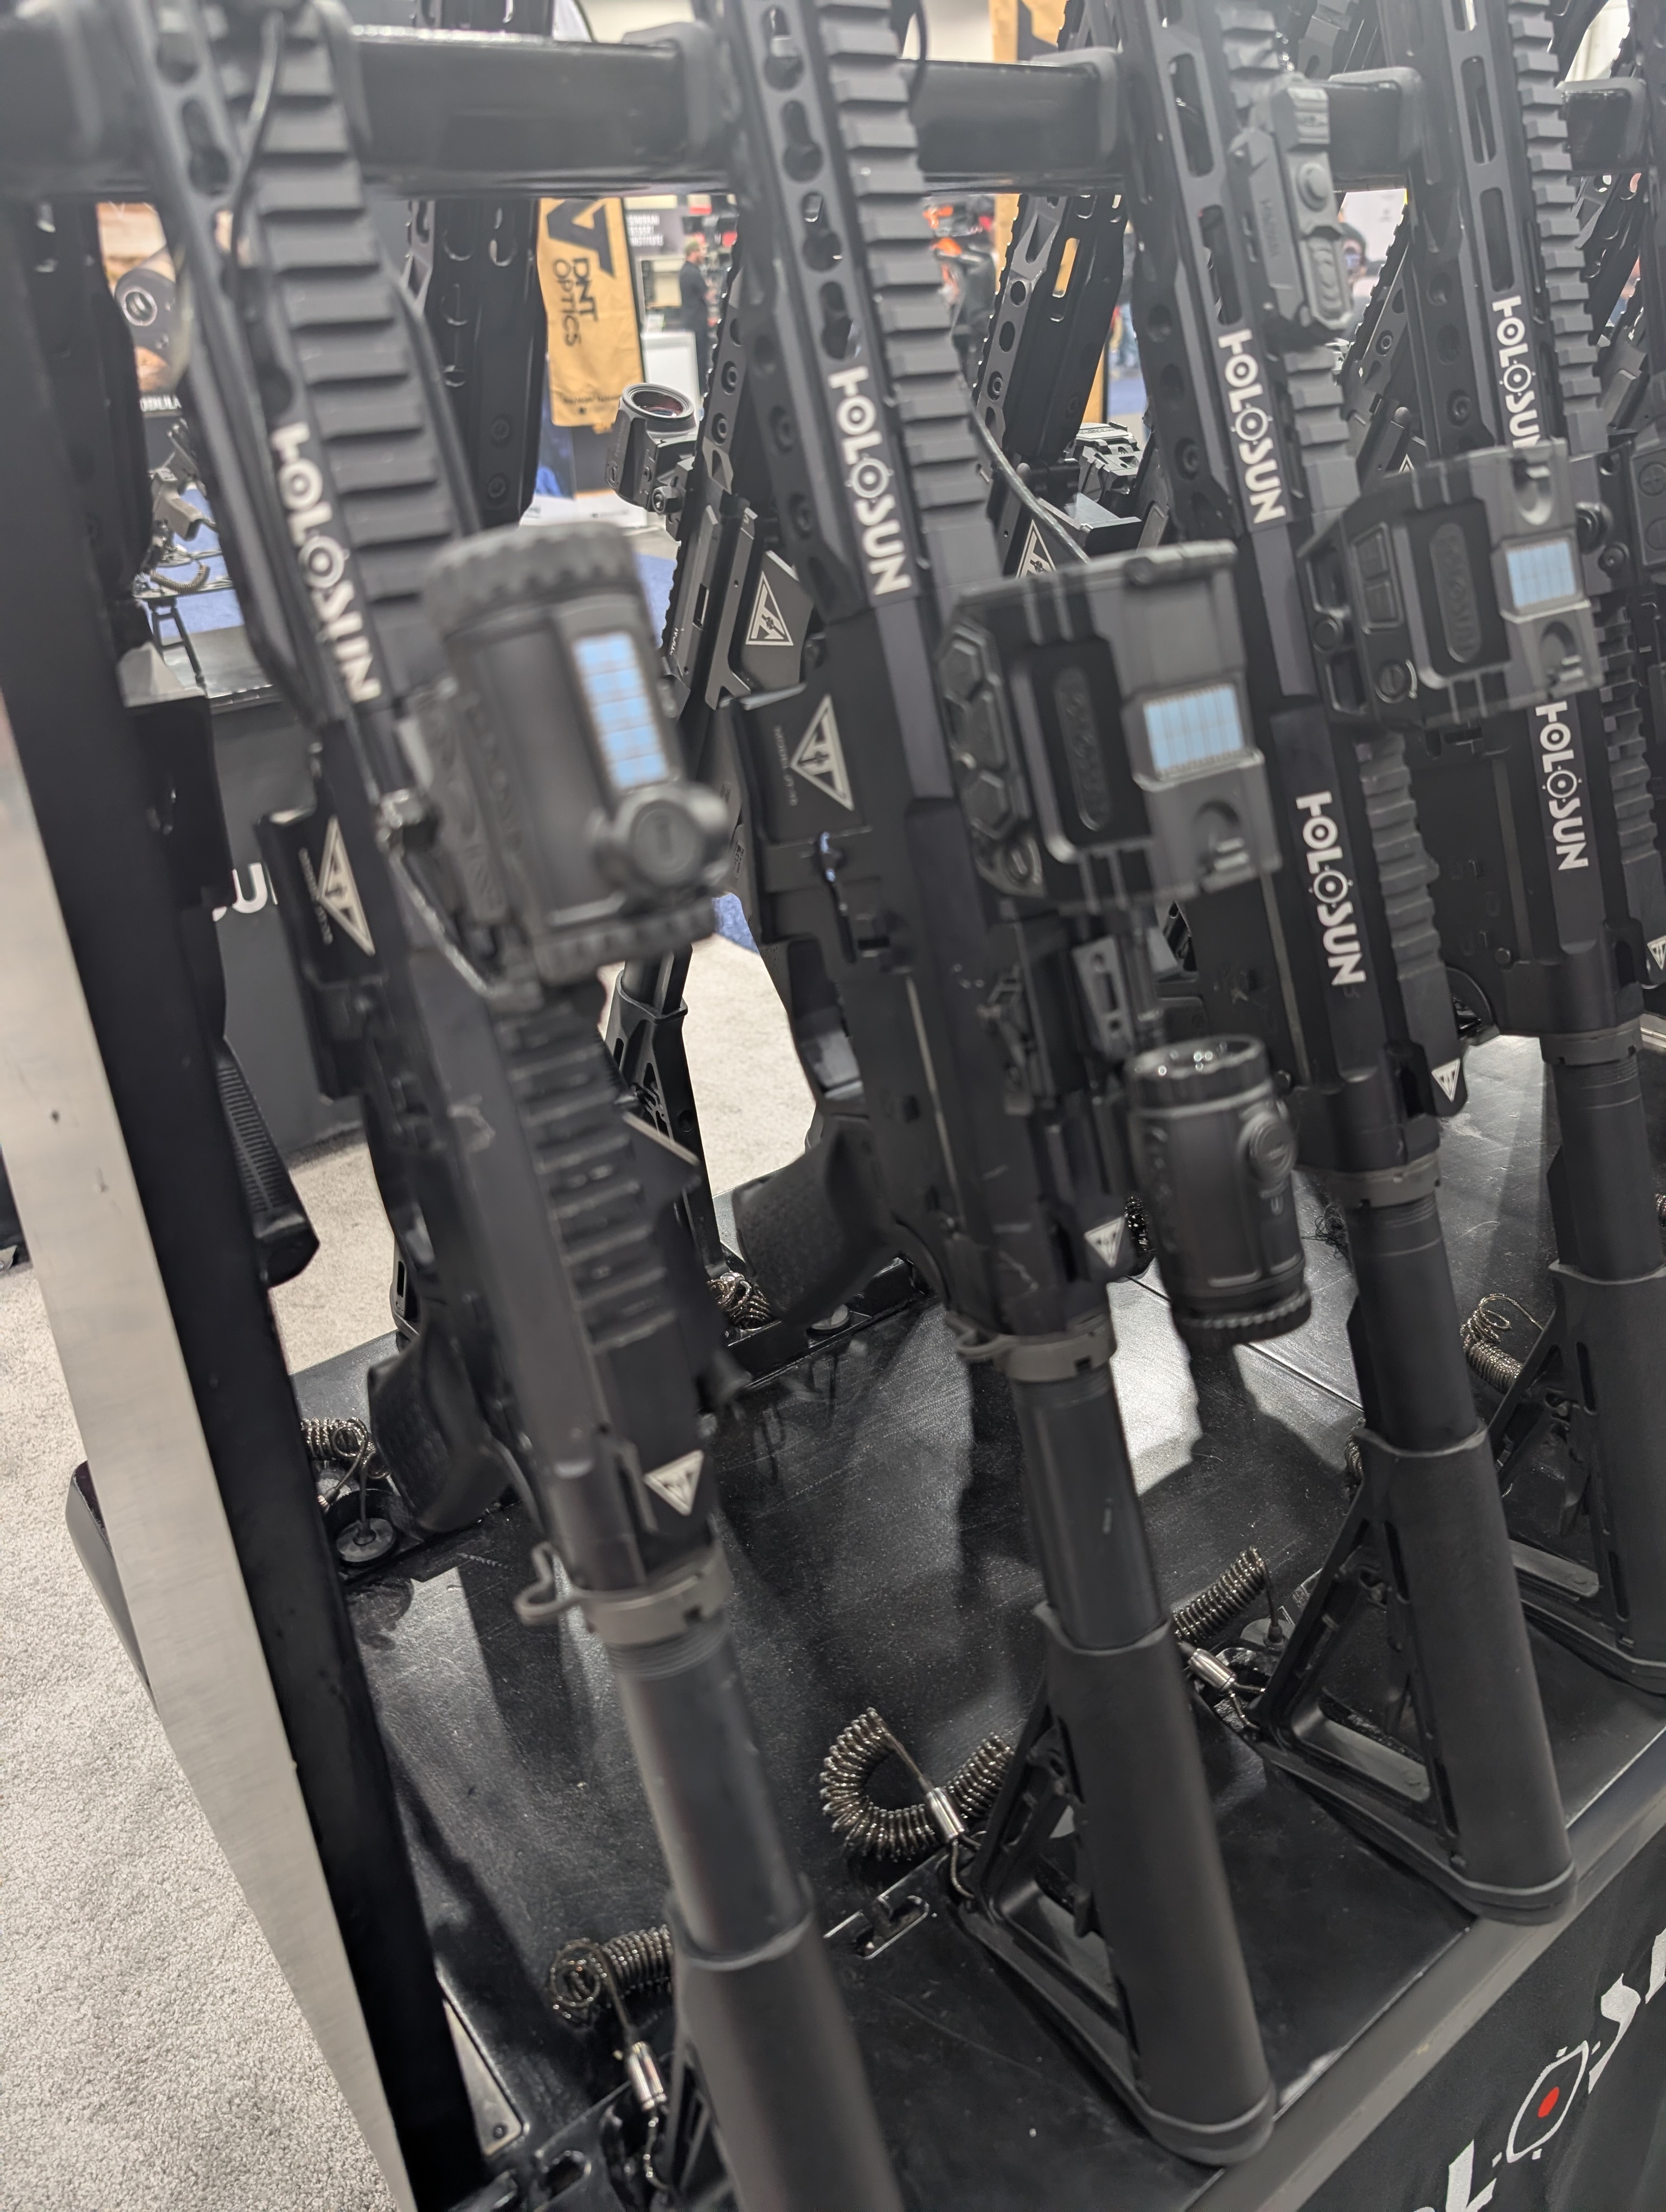
Holosun had their AEMS EVO Dual and the ARO EVO DUAL out at their booth. They worked pretty well (laser seemed to be roughly aligned with the reticle, ala the MOR), but inability to separately zero the laser is going to drive the NV-perfectionist crowd insane. That said, I’m almost certainly going to buy an AEMS EVO Dual for my Saiga 12 because it’s a way better solution than a separate unit on the handguard.
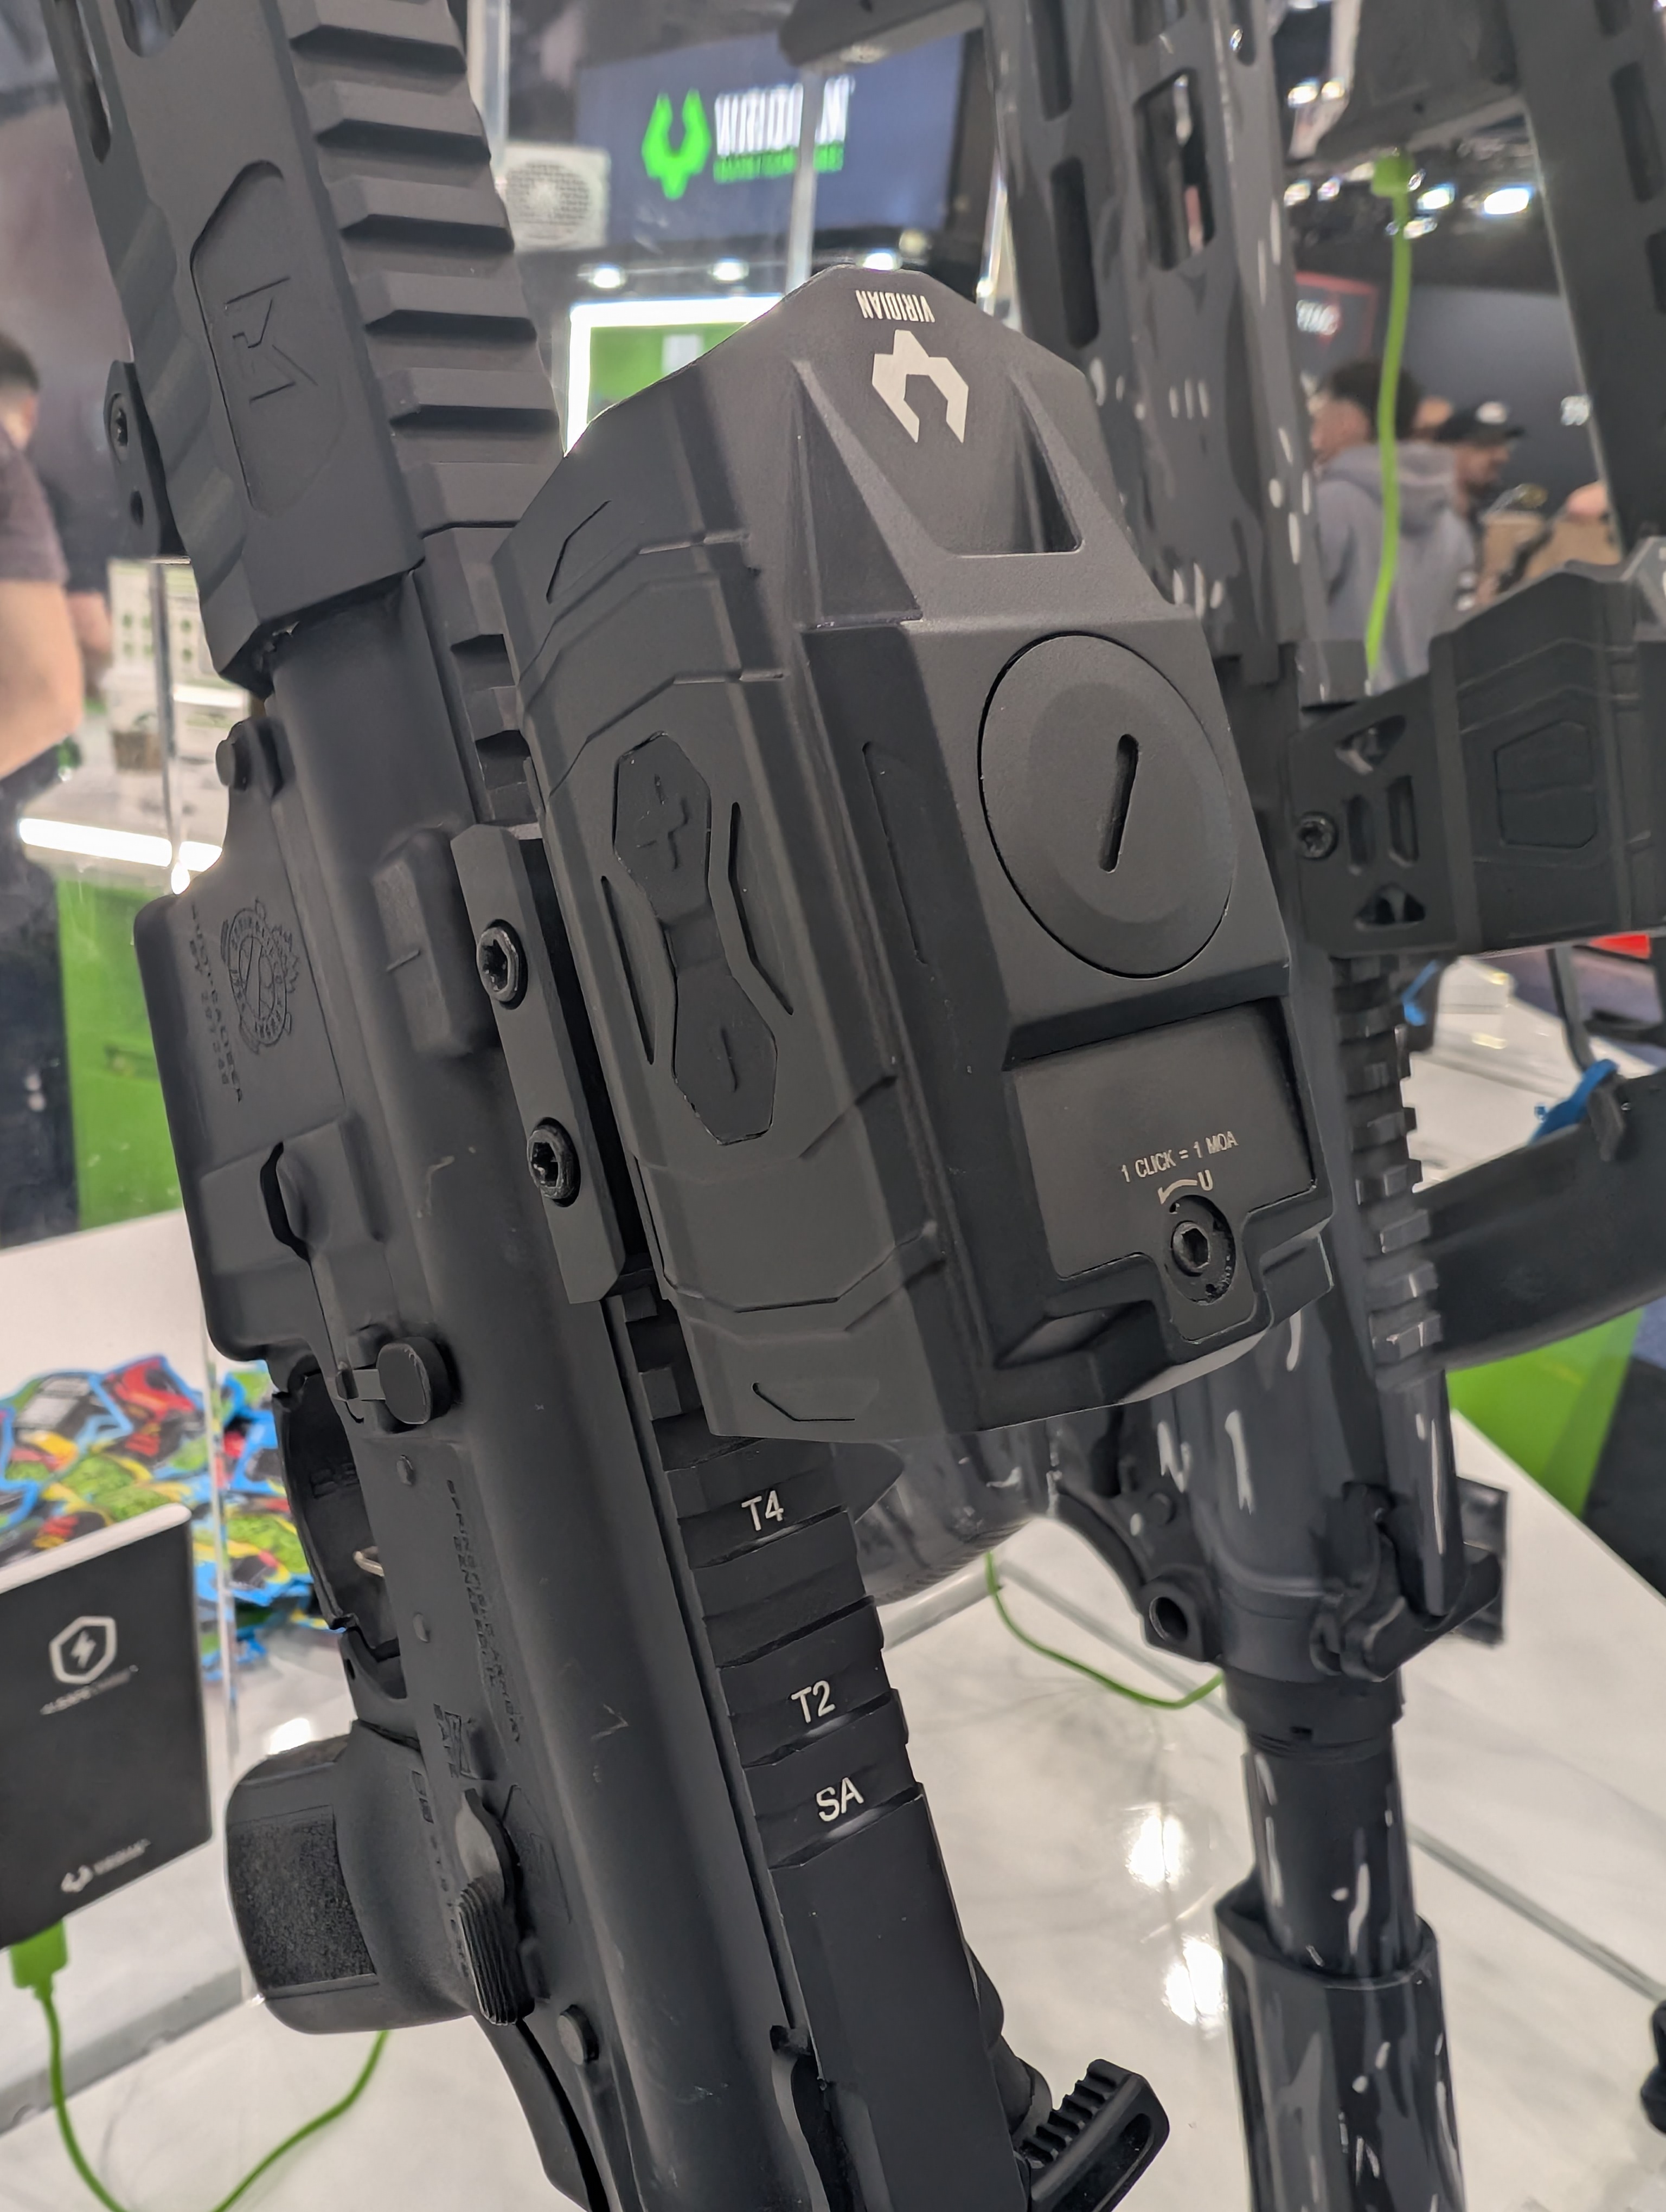
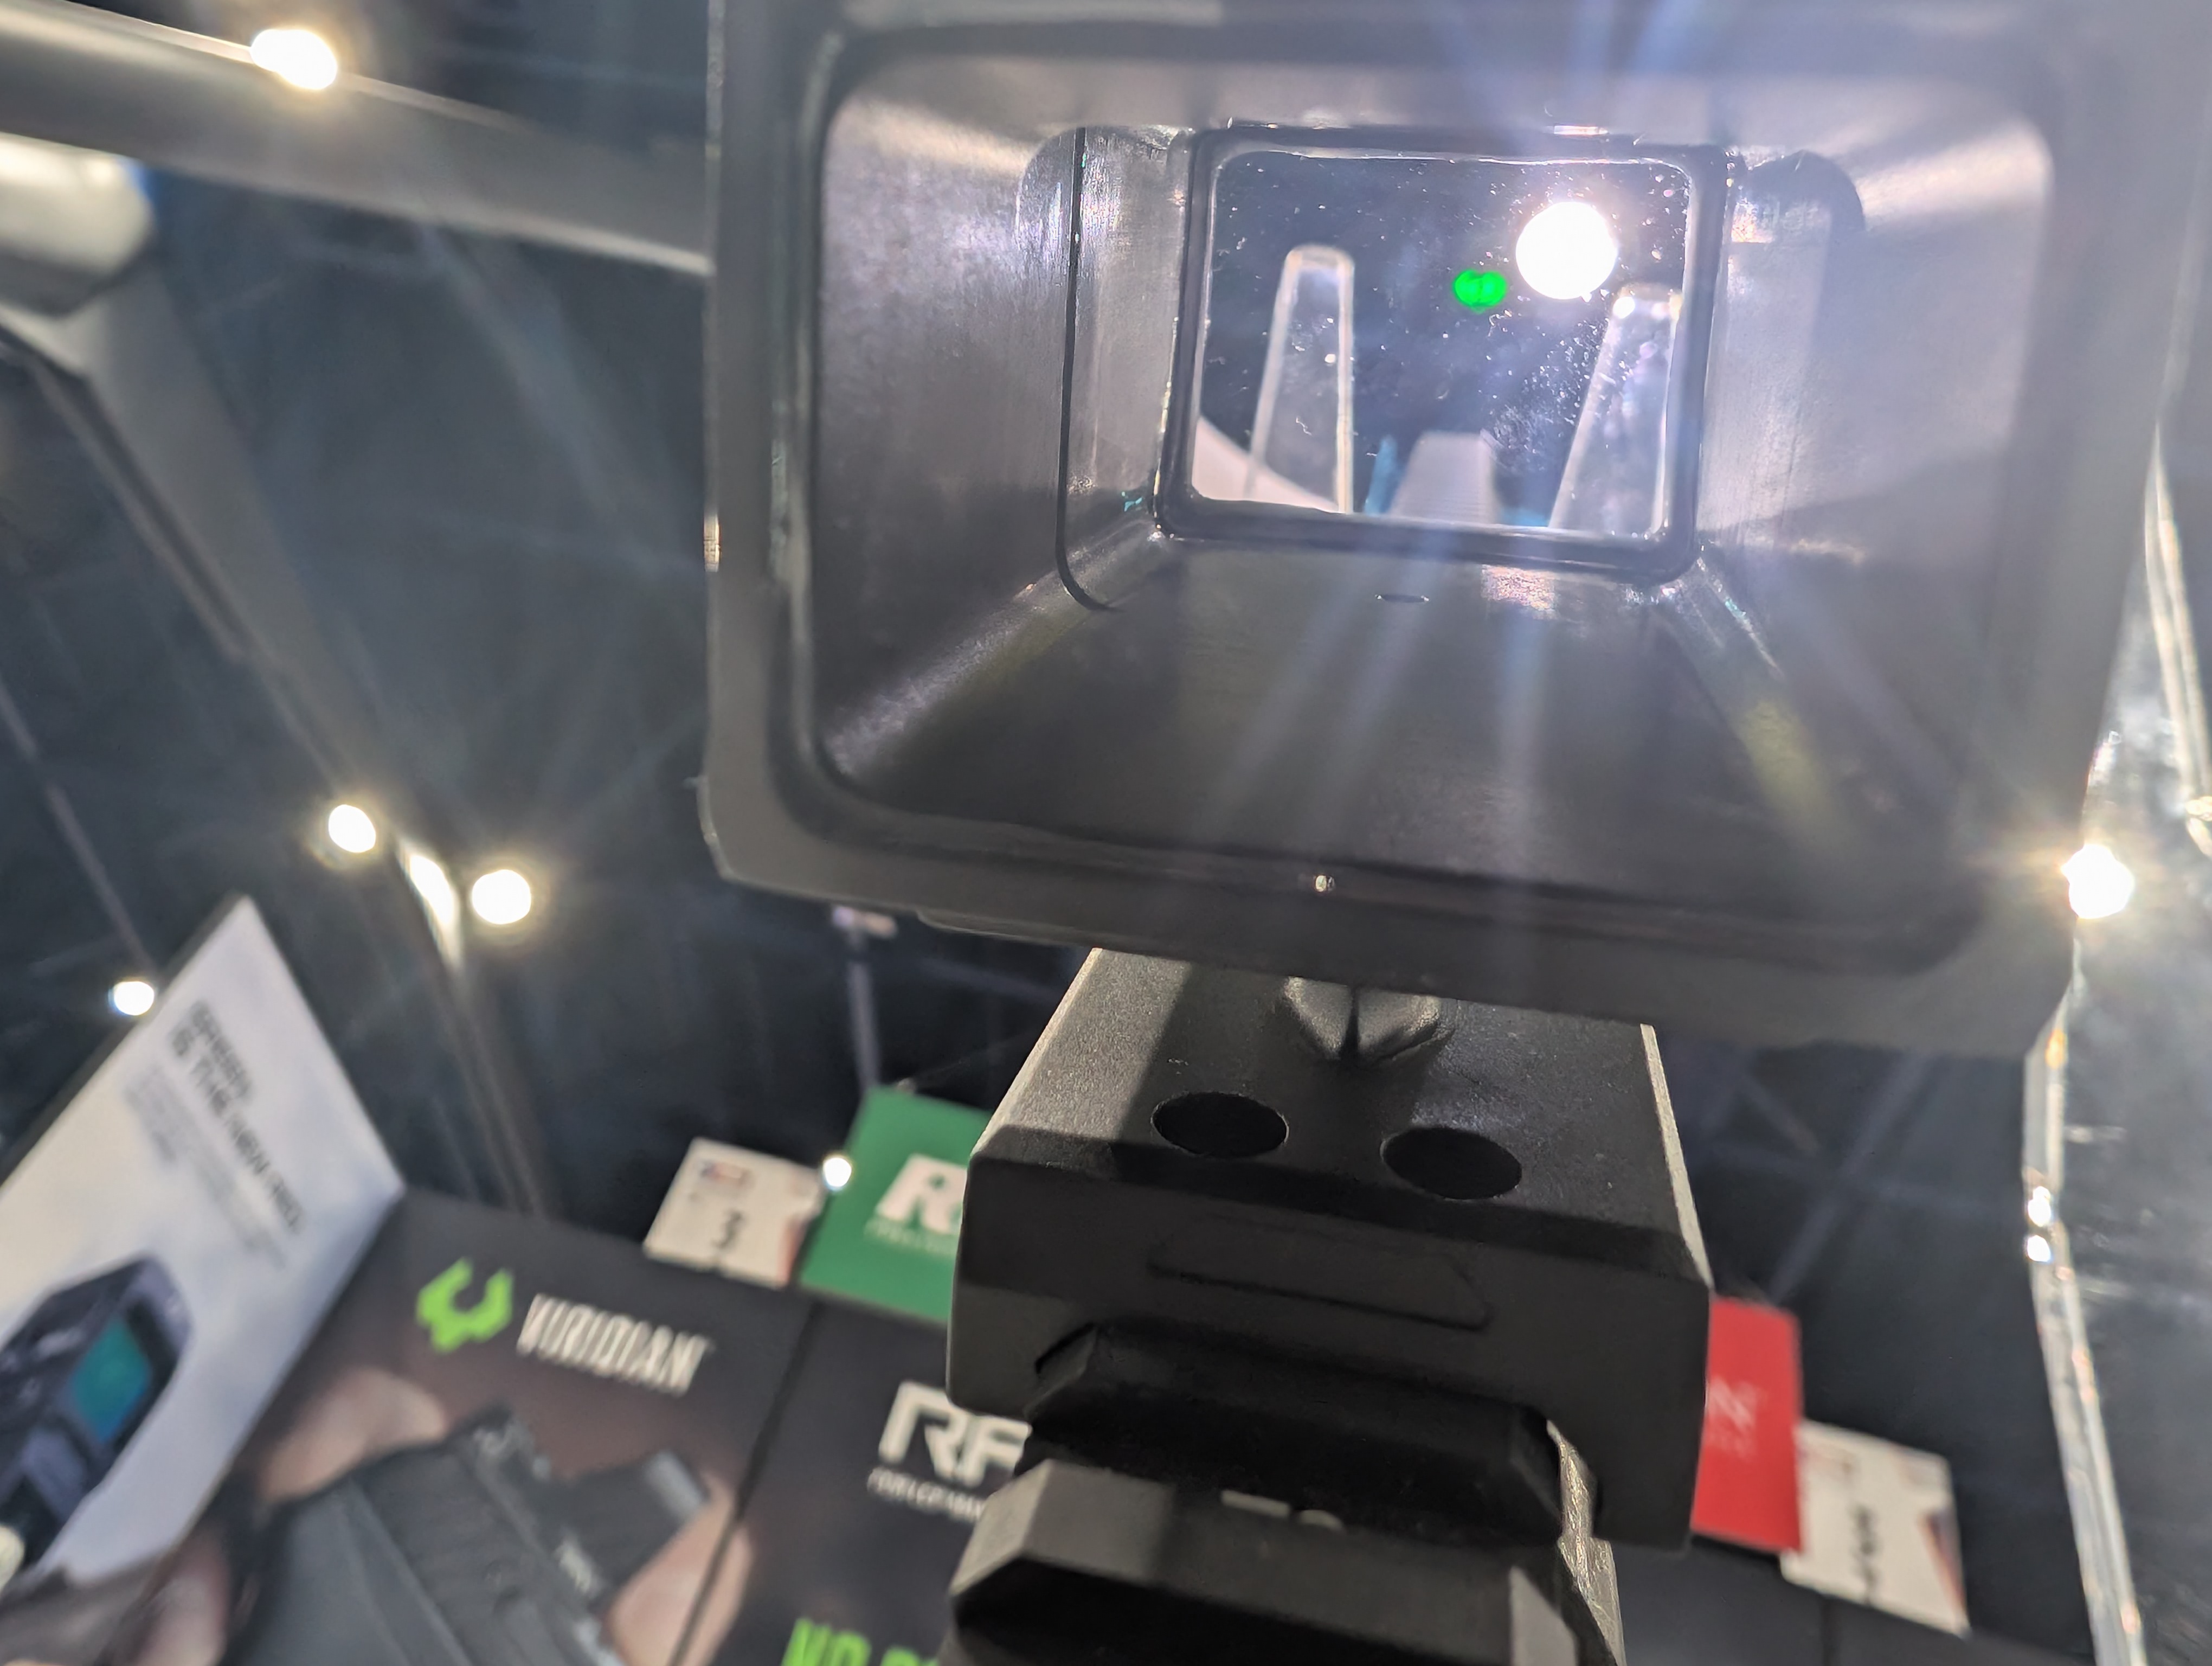
Viridian had a new optic called the MDS35 with a huge 36mm window and a BDC reticle. I’m not sure I’m really in the market for it, but it looked pretty good.
All in all, I spent about 3 hours walking around and talking, and I could easily have stretched it to 4 or 5 if I wanted to chat with everyone. If NRAAM is in your city, it’s worth going to the exhibit hall to check out all the cool new stuff.


